Tutorial how to make a custom exhaust
To start here is a little info.
It is actually very easy to build a Solara exhaust. I would start with 2.25 inch piping for an I4, 2.5 for a NA V6 and 3 for a SC V6 you will need 2 each 45 degree bends to make a S bend and 1 90 degree bend to make it to the muffler. I really like this store on ebay http://myworld.ebay.com/mandrelbends after you buy all the things you need just ask for an invoice for combined shipping and they are very reasonable. I went from $90 for shipping for 10 feet of 2.5 straight 2 45 degree bends and 1 90 bend to $30 shipped and I got the pipe in 3 days.
They also sell hangers you can use to mount the piping and muffler I would go ½ inch.
For Material of course stainless is always a good choice I like 409 because it is easier to weld (less punch through) and it holds up to corrosion just as well as 304. It is just not as shiny and possible surface rust (think factory piping). If stainless is not an option aluminized is much better than mild steel as far as corrosion resistance. As for welders all I will say is don’t let anyone tell you MIG is no good because MIG works just fine just a little less pretty.
Resonators are important to keep the raspy high pitch buzz down. Personally after running a single 18-inch louvered, single 14-inch louvered, single 18-inch perforated and dual 18-inch perforated, I like the dual 18-inch perforated the best but a single perforated also does a really good job. As for brand I really like silverline they seem to be high quality and hold up incredibly well to rust.
Mufflers are a personal choice as for me personally I like borla turbo mufflers and APEXI WORLD SPORT 2 mufflers.
If you are looking for something a little less expensive dynomax makes a great line of inexpensive awesome sounding mufflers. The super turbo is one of my favorites. A single 90-degree bend should get you from the cat back into the muffler.
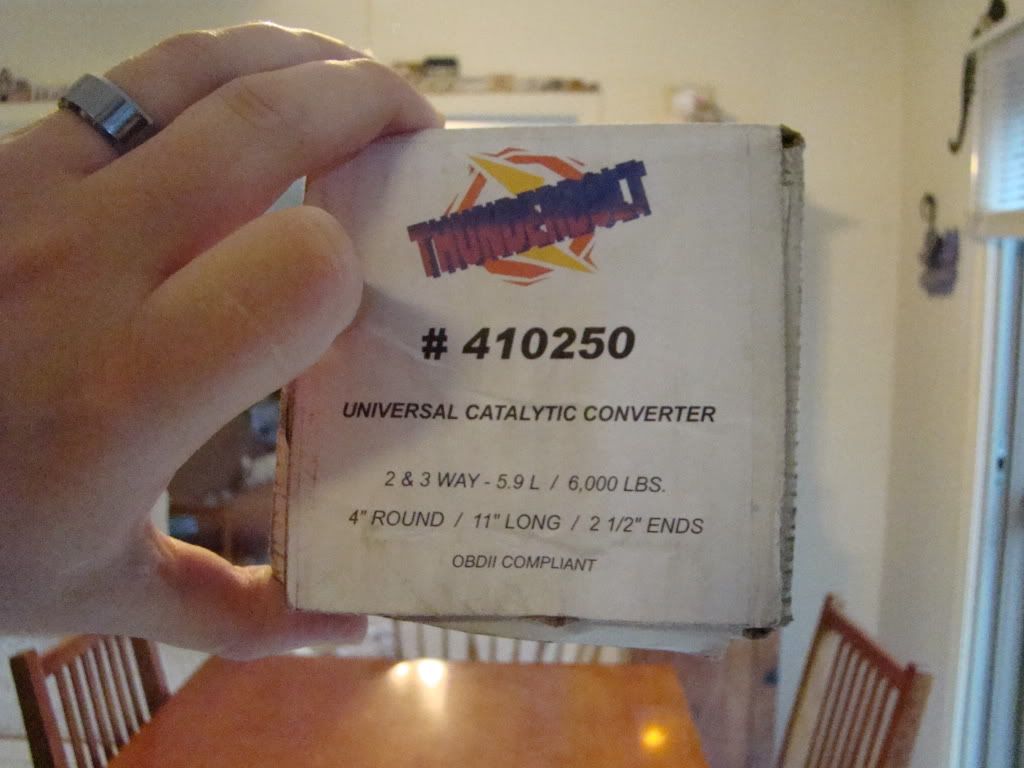
Finally flanges are always a good idea and for 2.25 inch piping you can use FelPro gasket number 60674 on 2.25 inch 2 bolt flanges. For 2.5 inch 2 bolt flanges FelPro 60496-1 works great. Flanges and o2 sensor bungs can be found all over ebay in varying prices and materials 3/8 is a good thickness for flanges but 1/2 works just as well.
here are a couple threads from my last exhaust build
http://www.solaraguy.com/viewtopic.php? ... hlight=trd
Finished so post back and let me know what you think of the sound
http://www.solaraguy.com/viewtopic.php? ... sc&start=0
To Build your own catback you will need
2 45 degree bends to make the 1 S bend
1 or 2 Resonators perforated 18 inch body 22 inch overall
6 to 10 feet of straight (depending on number of resonators)
2 90 degree bends for right before the muffler and into the muffler
3 flanges 2 for the catback and 1 for the muffler
3 hanger rods 1/2 inch 1 for the catback and 2 for the muffler
1 O2 sensor bung
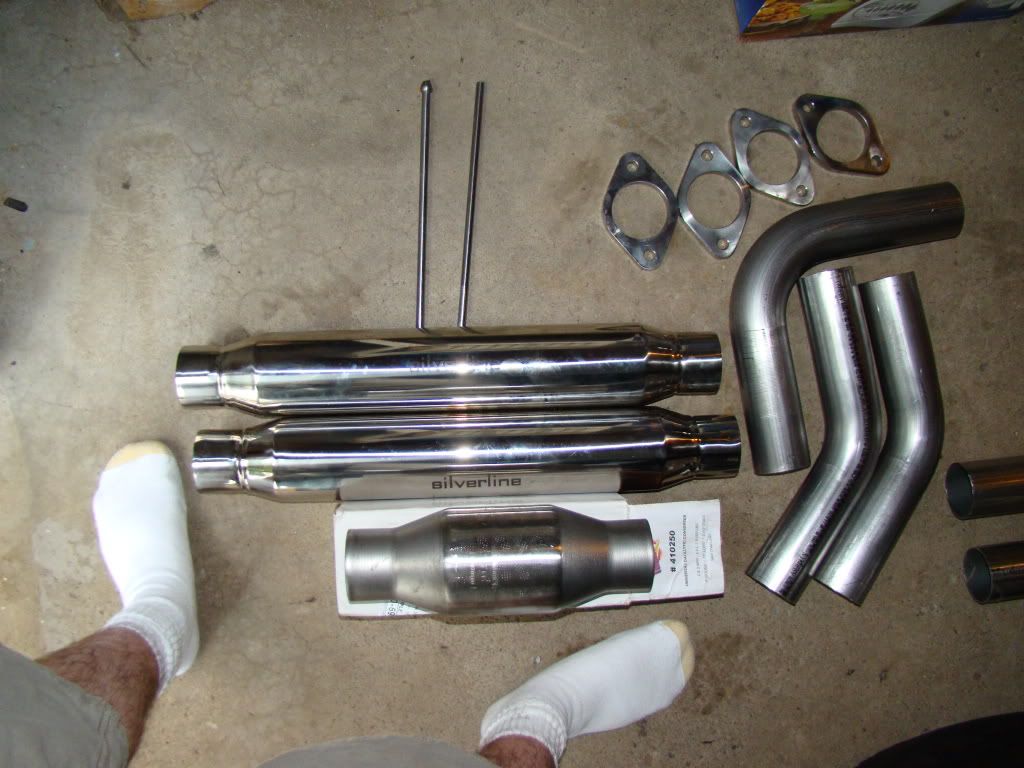
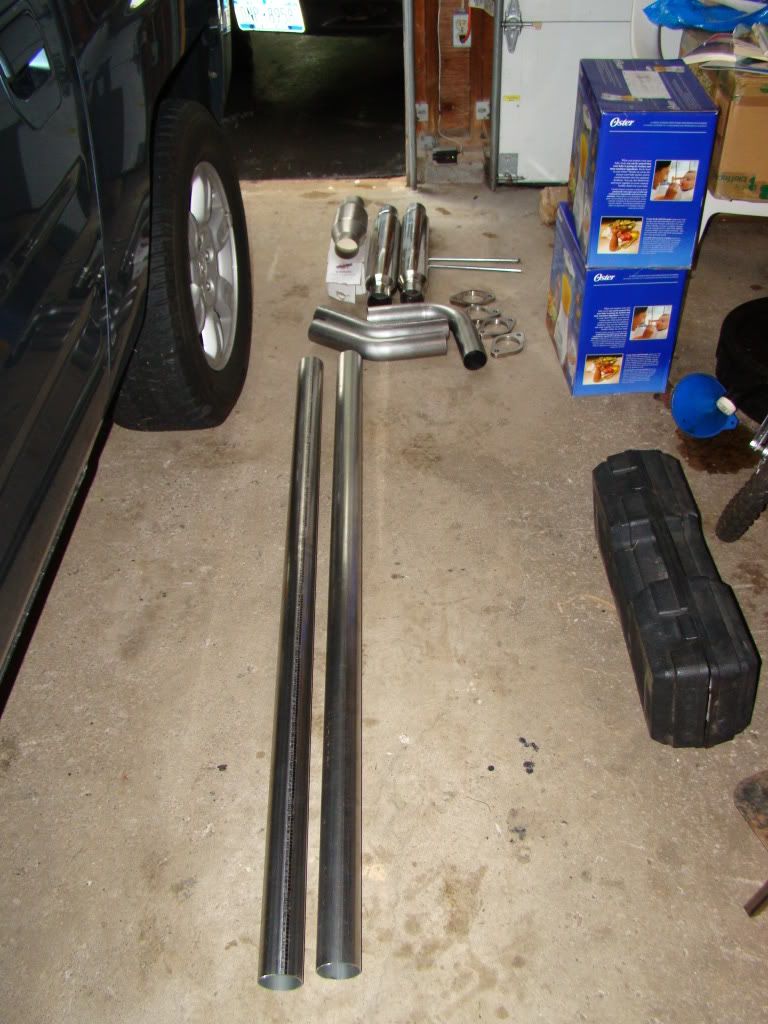
Here are pics of my kit
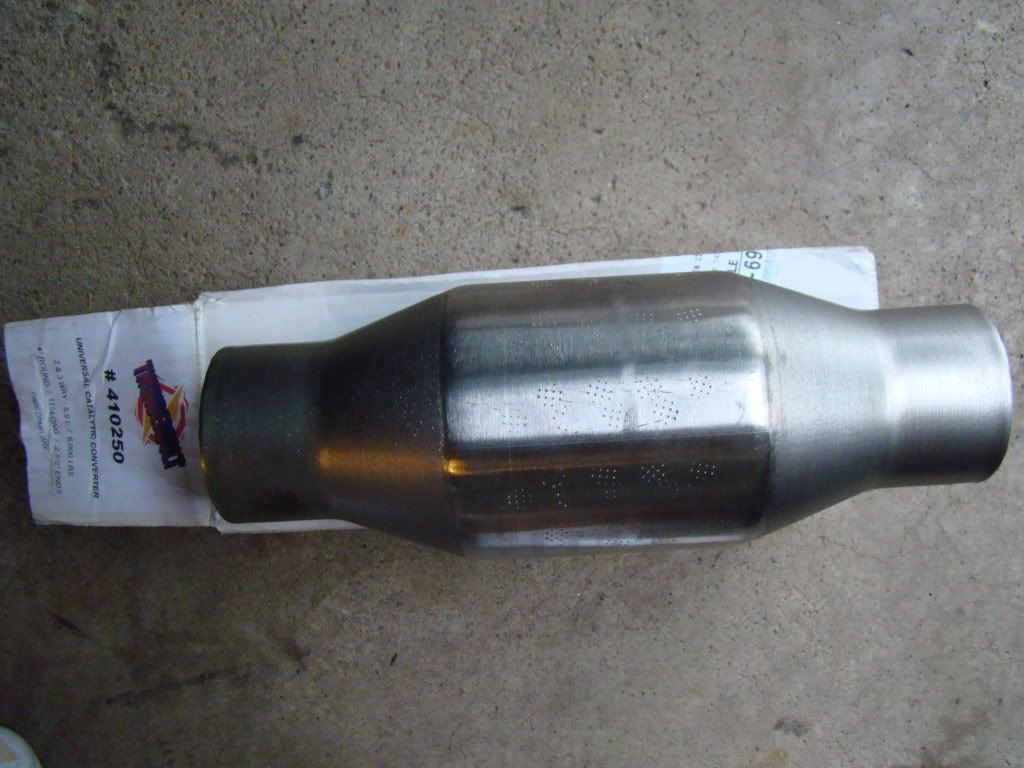
Highflow cat
Cat again
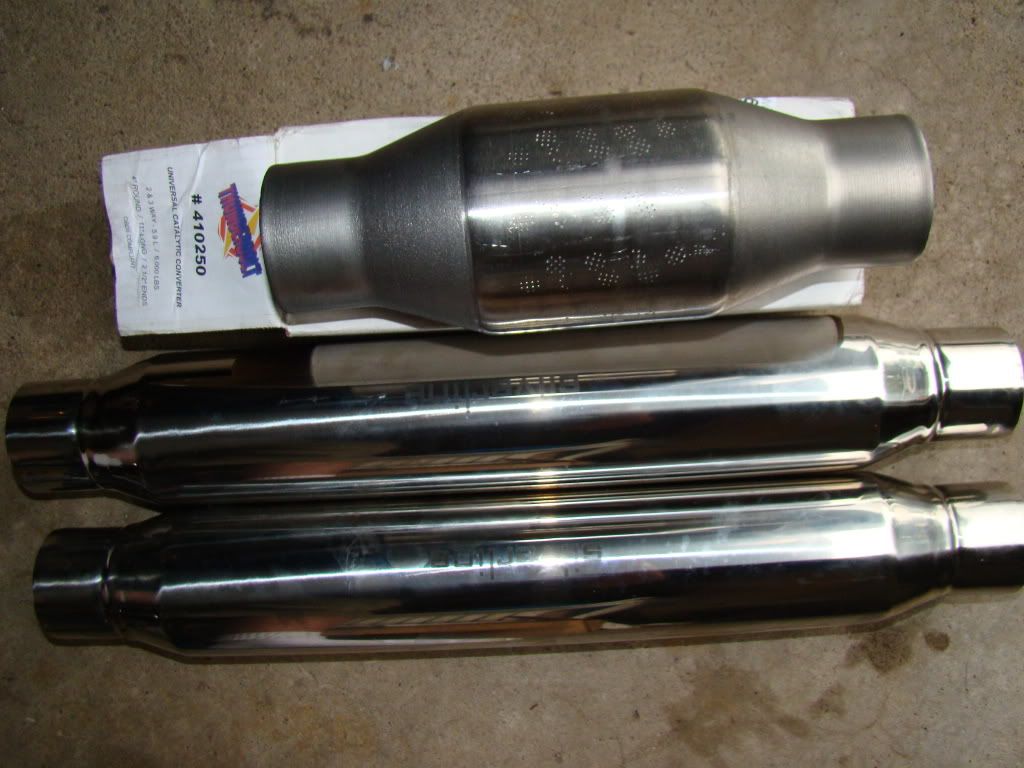
Cat and 2 18 inch perforated silverline stainless resonators.
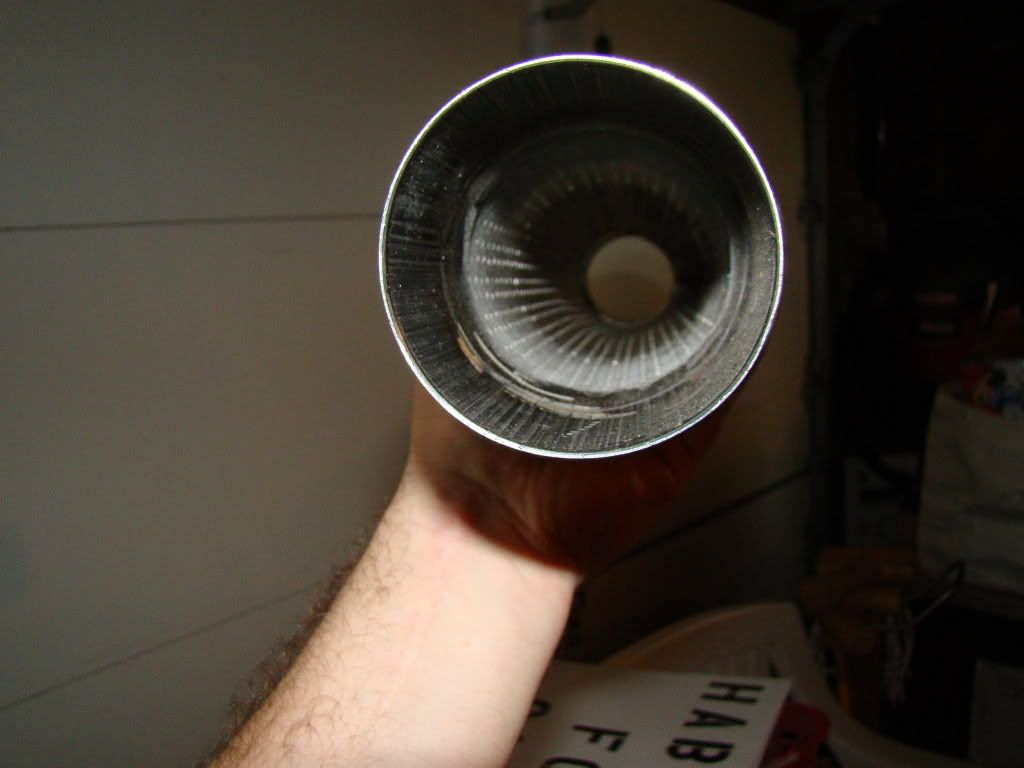
Inside of cat
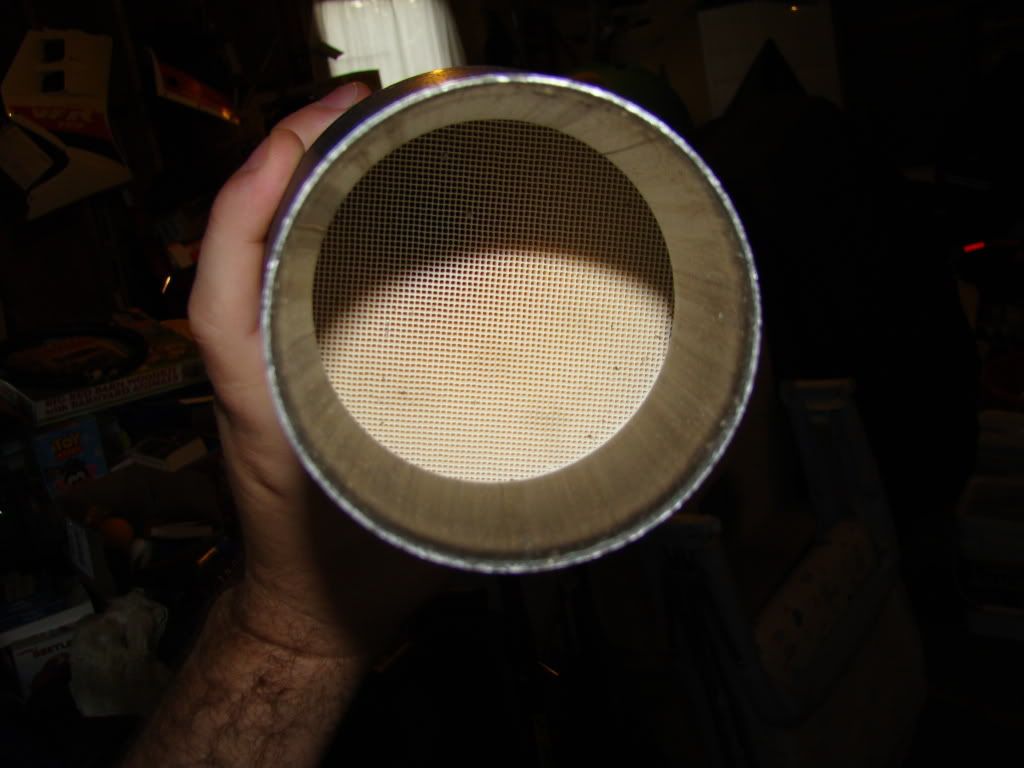
Inside of resonator
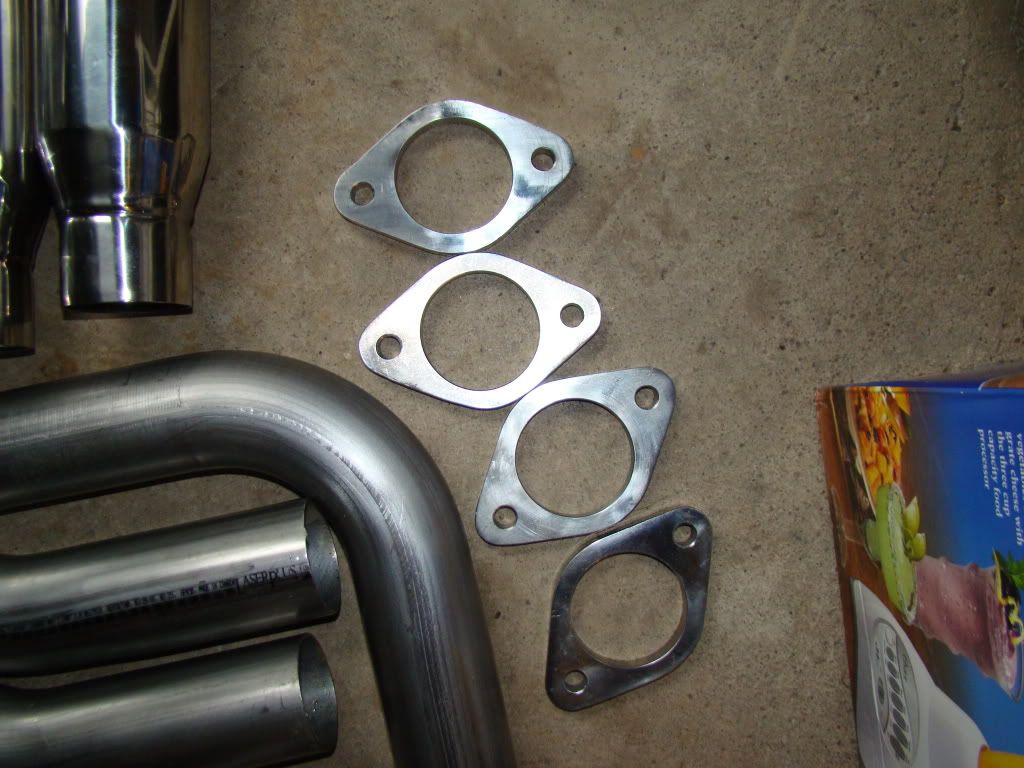
Bends, flanges ect.
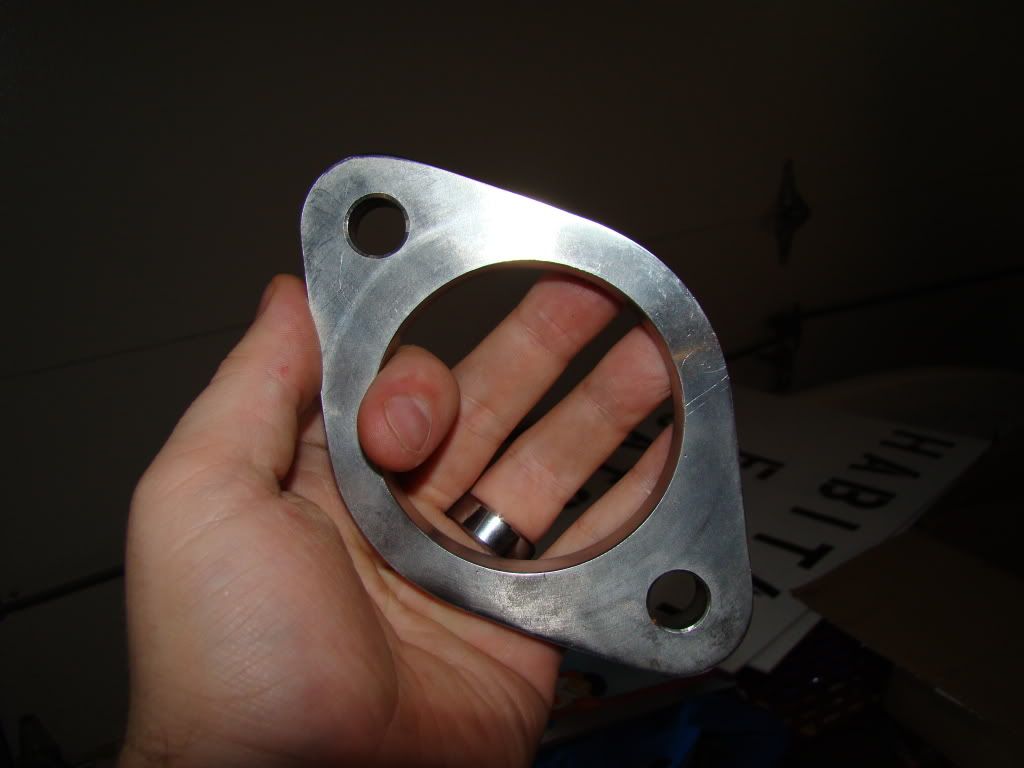
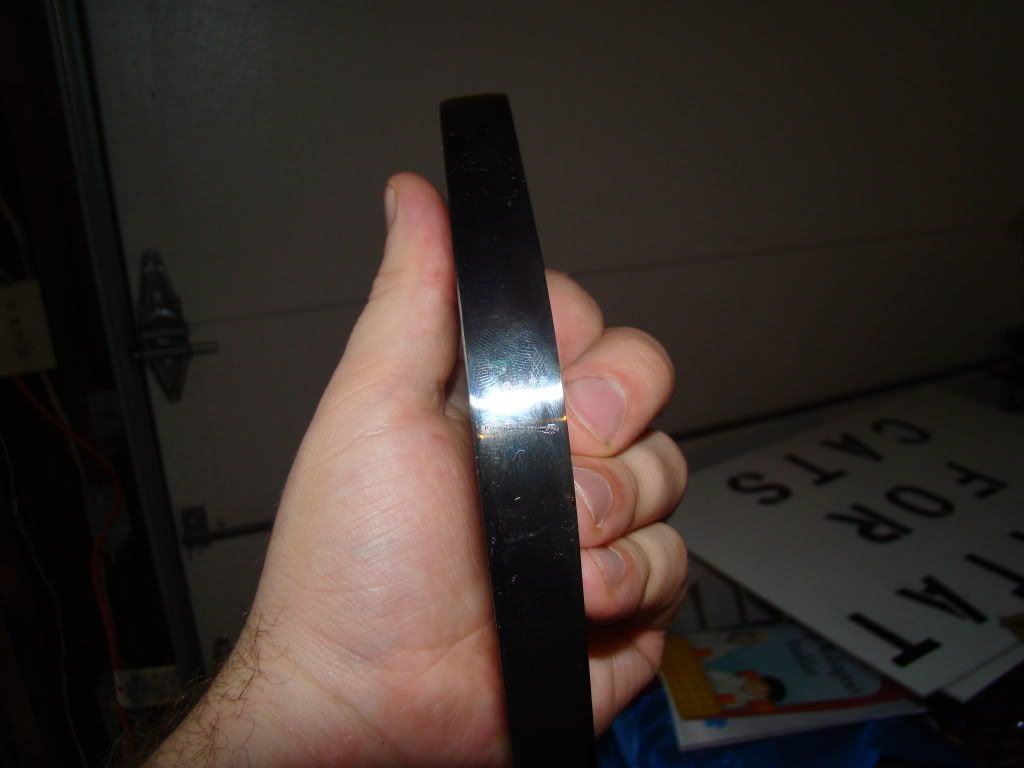
1/2 inch stainless flange
Everything
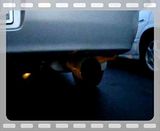
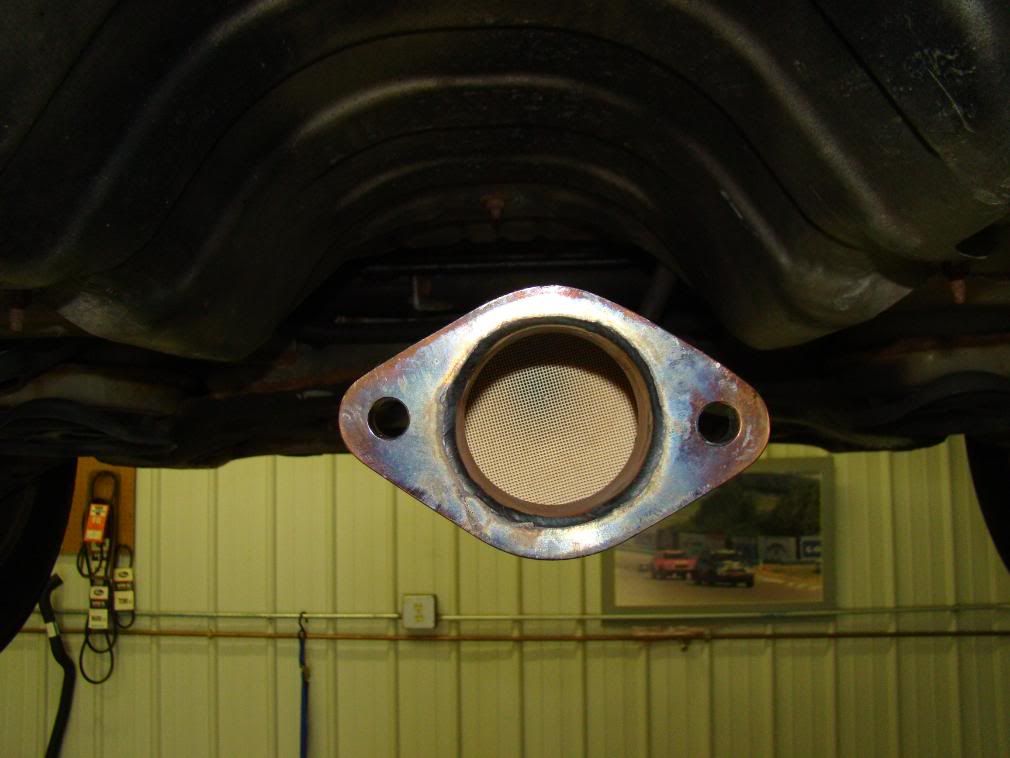
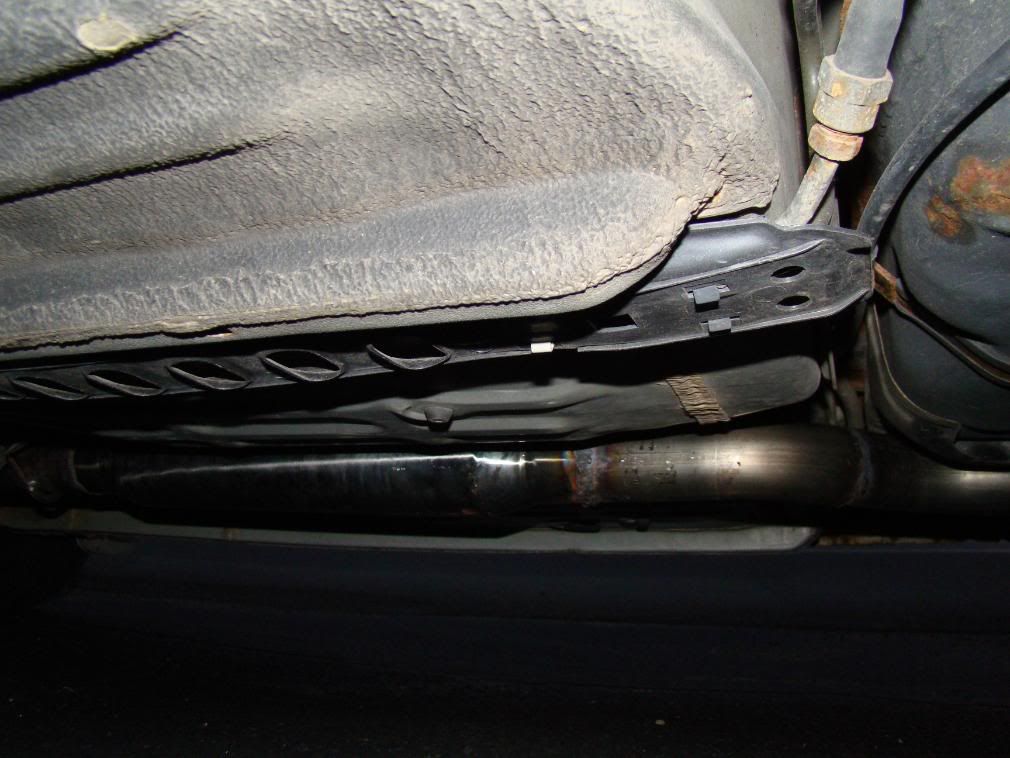
Start by removing the old exhaust so you just have the flange coming off the stock cat.
Then add a couple feet of straight pipe to make it about 4 inches past the stock hanger location. This is where you should add your first or only resonator. Then Tie it to the hanger with a coat hanger.
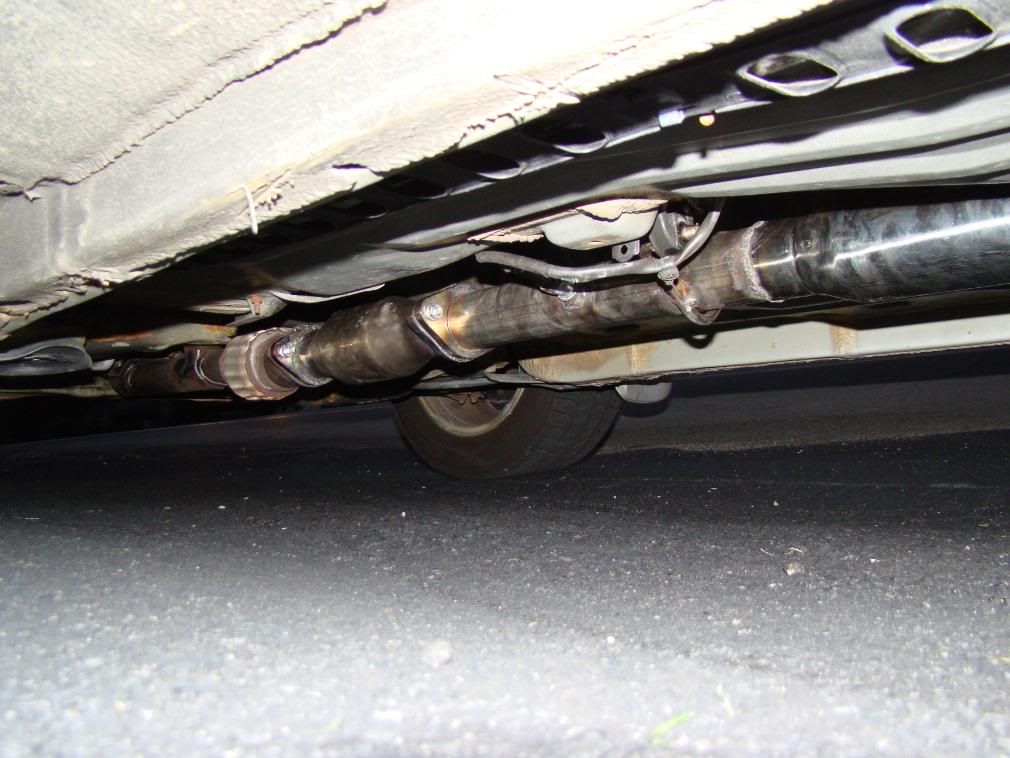
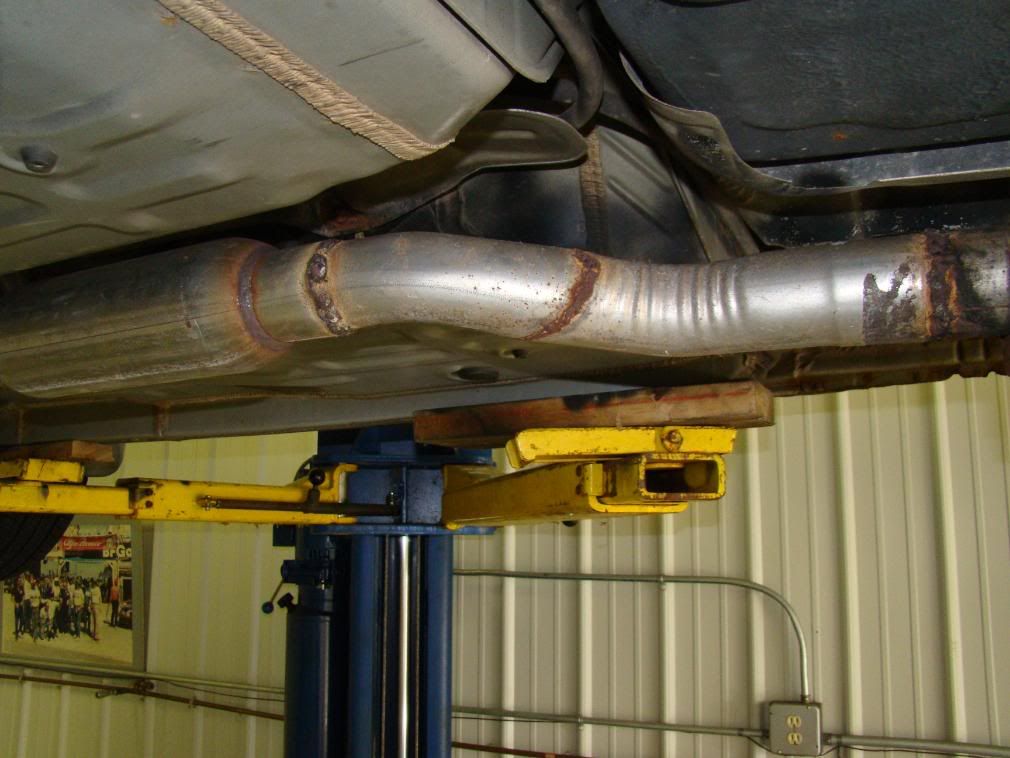
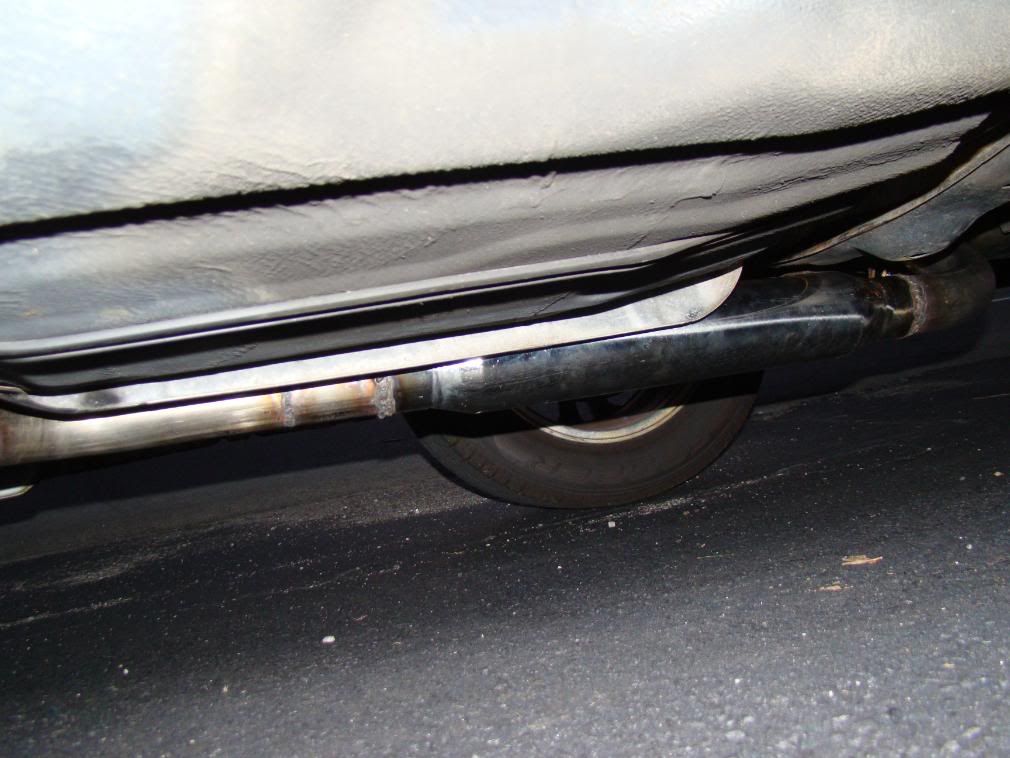
The length of the resonator should bring you to the location where you need to start your S bend. Sorry I don't have a better picture but here is one using stainless and another using cheap ass autozone pipe.
Now you have a choice weather or not to go just straight pipe to the muffler or a second resonator.
You just need to come straight back
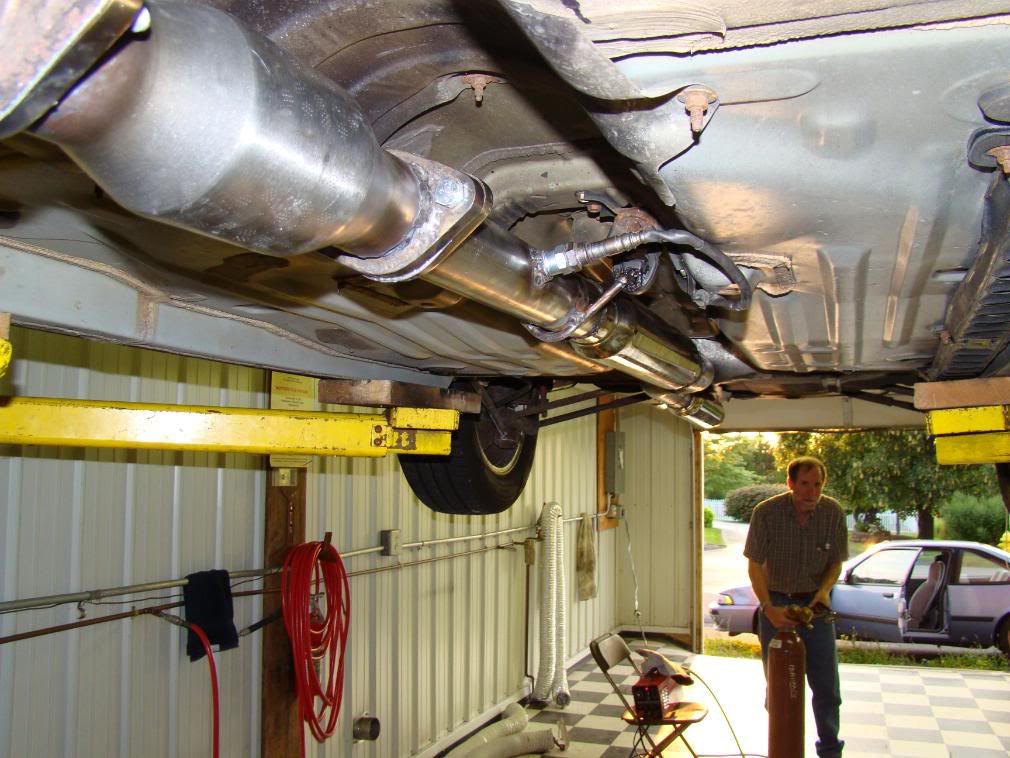
Now here is the hard part. I would suggest attaching the hangers to the muffler first to help keep it aligned. Then With the help of a friend tack the 2 90 degree bends into place one curving up toward the muffler and the other curving out toward the back of the car.
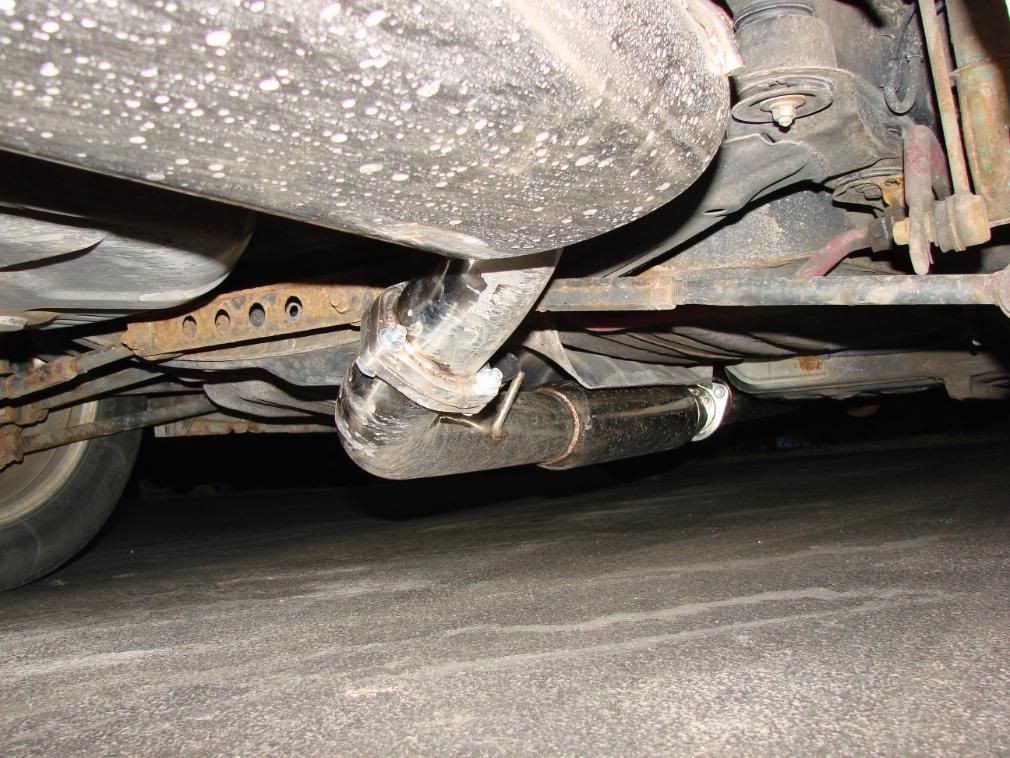
Next make the mid section hanger adjust the coat hanger until it hangs perfect and weld on the hanger. Finally mark the pipe where the O2 Sensor should go. A step drill bit works great 1.125 inch at the large end should be just fine. Weld in the O2 sensor bung and that is it.
Nut too bad Huh?
It is actually very easy to build a Solara exhaust. I would start with 2.25 inch piping for an I4, 2.5 for a NA V6 and 3 for a SC V6 you will need 2 each 45 degree bends to make a S bend and 1 90 degree bend to make it to the muffler. I really like this store on ebay http://myworld.ebay.com/mandrelbends after you buy all the things you need just ask for an invoice for combined shipping and they are very reasonable. I went from $90 for shipping for 10 feet of 2.5 straight 2 45 degree bends and 1 90 bend to $30 shipped and I got the pipe in 3 days.
They also sell hangers you can use to mount the piping and muffler I would go ½ inch.
For Material of course stainless is always a good choice I like 409 because it is easier to weld (less punch through) and it holds up to corrosion just as well as 304. It is just not as shiny and possible surface rust (think factory piping). If stainless is not an option aluminized is much better than mild steel as far as corrosion resistance. As for welders all I will say is don’t let anyone tell you MIG is no good because MIG works just fine just a little less pretty.
Resonators are important to keep the raspy high pitch buzz down. Personally after running a single 18-inch louvered, single 14-inch louvered, single 18-inch perforated and dual 18-inch perforated, I like the dual 18-inch perforated the best but a single perforated also does a really good job. As for brand I really like silverline they seem to be high quality and hold up incredibly well to rust.
Mufflers are a personal choice as for me personally I like borla turbo mufflers and APEXI WORLD SPORT 2 mufflers.
If you are looking for something a little less expensive dynomax makes a great line of inexpensive awesome sounding mufflers. The super turbo is one of my favorites. A single 90-degree bend should get you from the cat back into the muffler.
Finally flanges are always a good idea and for 2.25 inch piping you can use FelPro gasket number 60674 on 2.25 inch 2 bolt flanges. For 2.5 inch 2 bolt flanges FelPro 60496-1 works great. Flanges and o2 sensor bungs can be found all over ebay in varying prices and materials 3/8 is a good thickness for flanges but 1/2 works just as well.
here are a couple threads from my last exhaust build
http://www.solaraguy.com/viewtopic.php? ... hlight=trd
Finished so post back and let me know what you think of the sound
http://www.solaraguy.com/viewtopic.php? ... sc&start=0
To Build your own catback you will need
2 45 degree bends to make the 1 S bend
1 or 2 Resonators perforated 18 inch body 22 inch overall
6 to 10 feet of straight (depending on number of resonators)
2 90 degree bends for right before the muffler and into the muffler
3 flanges 2 for the catback and 1 for the muffler
3 hanger rods 1/2 inch 1 for the catback and 2 for the muffler
1 O2 sensor bung
Here are pics of my kit
Highflow cat
Cat again
Cat and 2 18 inch perforated silverline stainless resonators.
Inside of cat
Inside of resonator
Bends, flanges ect.
1/2 inch stainless flange
Everything
Start by removing the old exhaust so you just have the flange coming off the stock cat.
Then add a couple feet of straight pipe to make it about 4 inches past the stock hanger location. This is where you should add your first or only resonator. Then Tie it to the hanger with a coat hanger.
The length of the resonator should bring you to the location where you need to start your S bend. Sorry I don't have a better picture but here is one using stainless and another using cheap ass autozone pipe.
Now you have a choice weather or not to go just straight pipe to the muffler or a second resonator.
You just need to come straight back
Now here is the hard part. I would suggest attaching the hangers to the muffler first to help keep it aligned. Then With the help of a friend tack the 2 90 degree bends into place one curving up toward the muffler and the other curving out toward the back of the car.
Next make the mid section hanger adjust the coat hanger until it hangs perfect and weld on the hanger. Finally mark the pipe where the O2 Sensor should go. A step drill bit works great 1.125 inch at the large end should be just fine. Weld in the O2 sensor bung and that is it.
Nut too bad Huh?