Doing a double din NAVI is a PAIN! (56k Warning)
![]() by [SMAN] » Wed Aug 08, 2007 6:01 pm
by [SMAN] » Wed Aug 08, 2007 6:01 pm
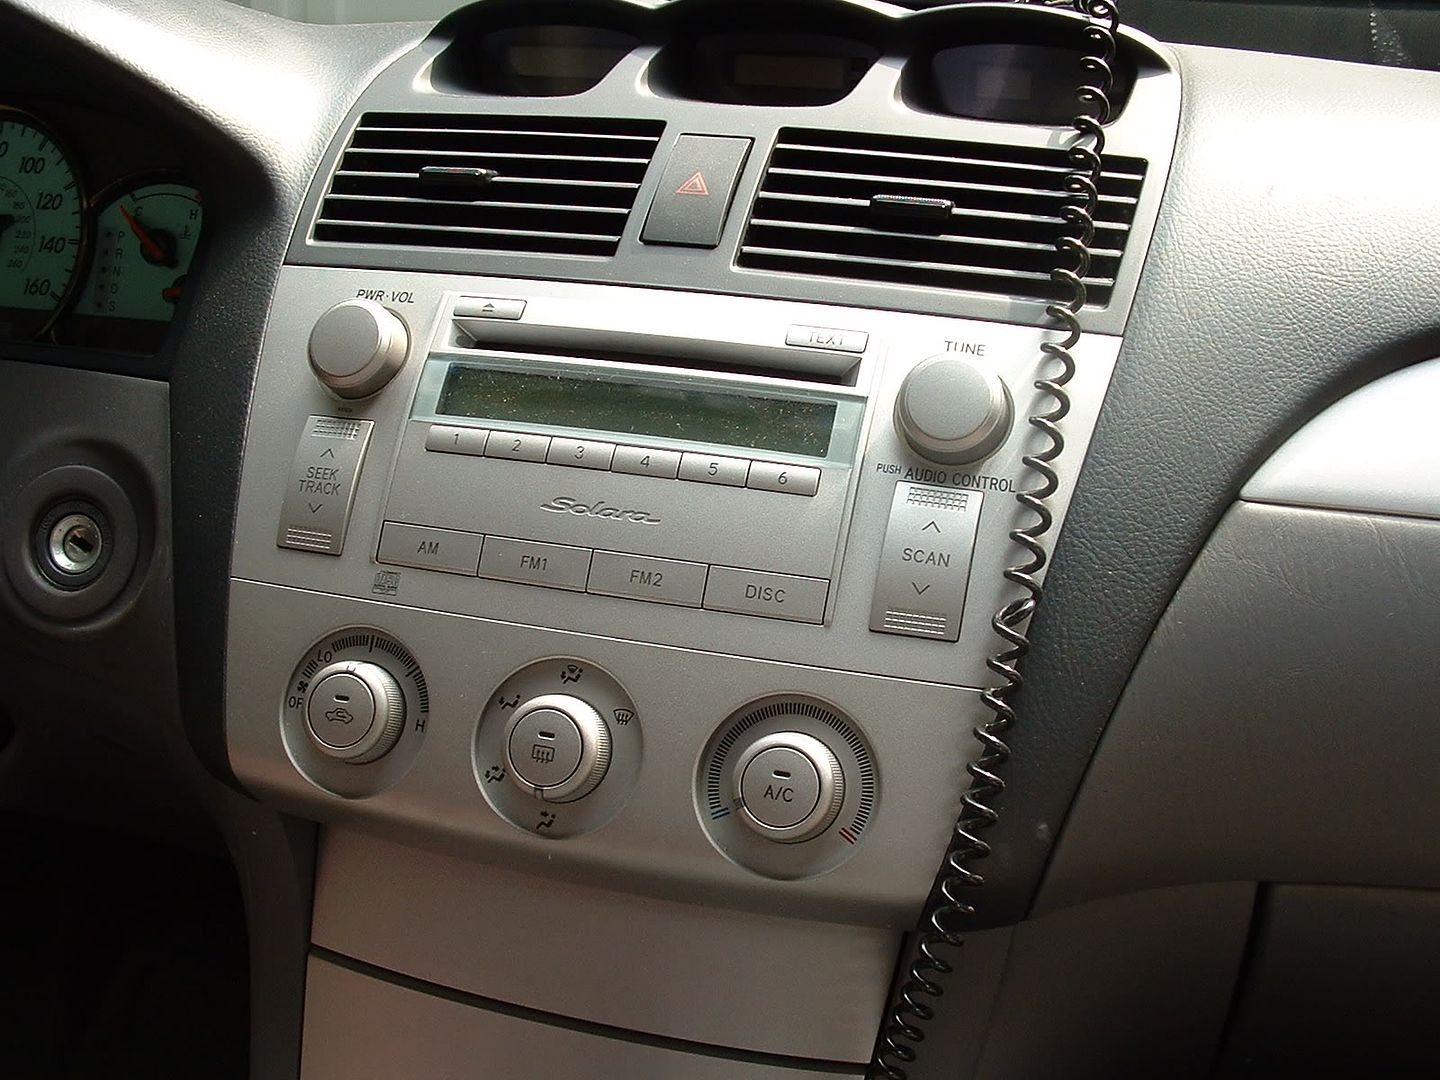
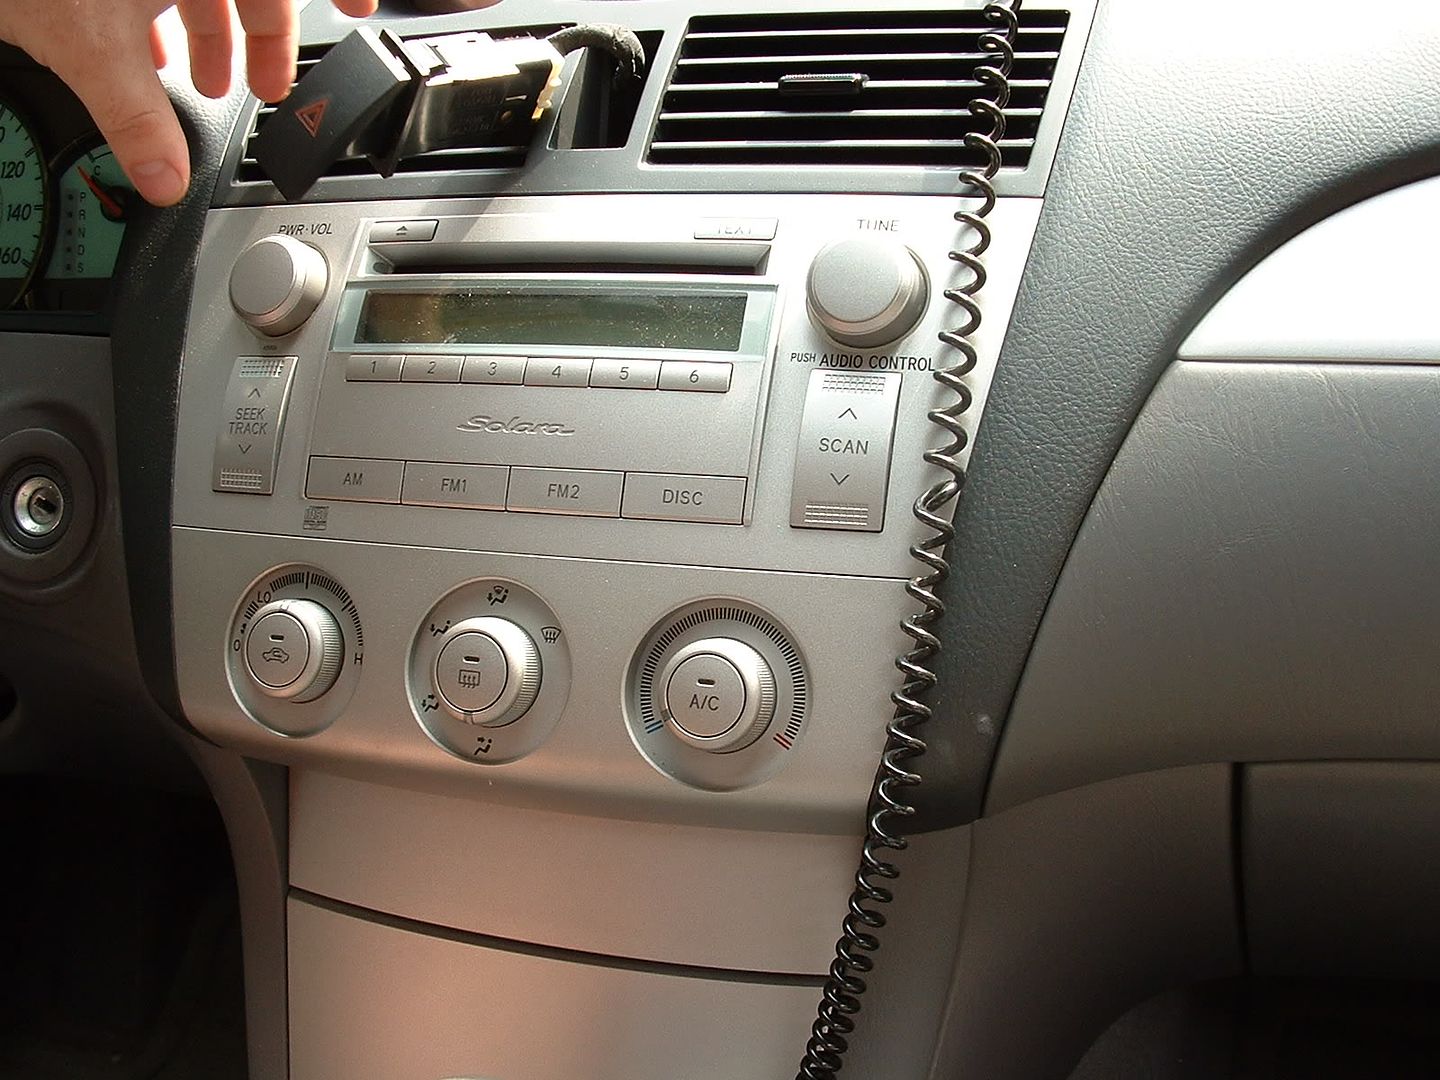
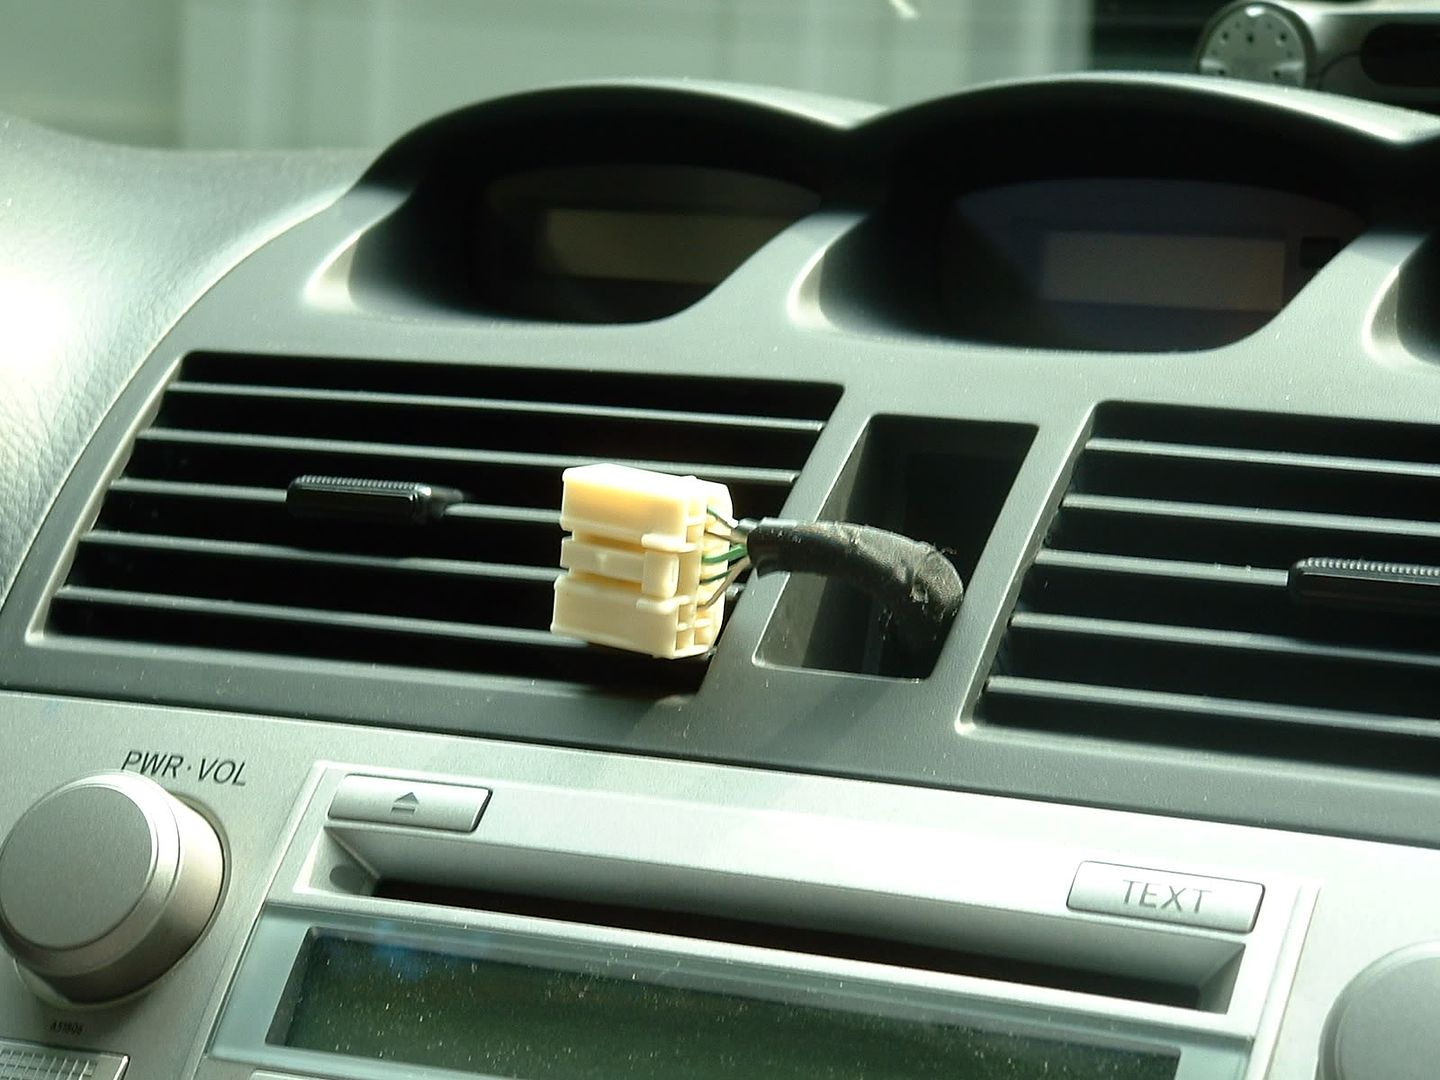
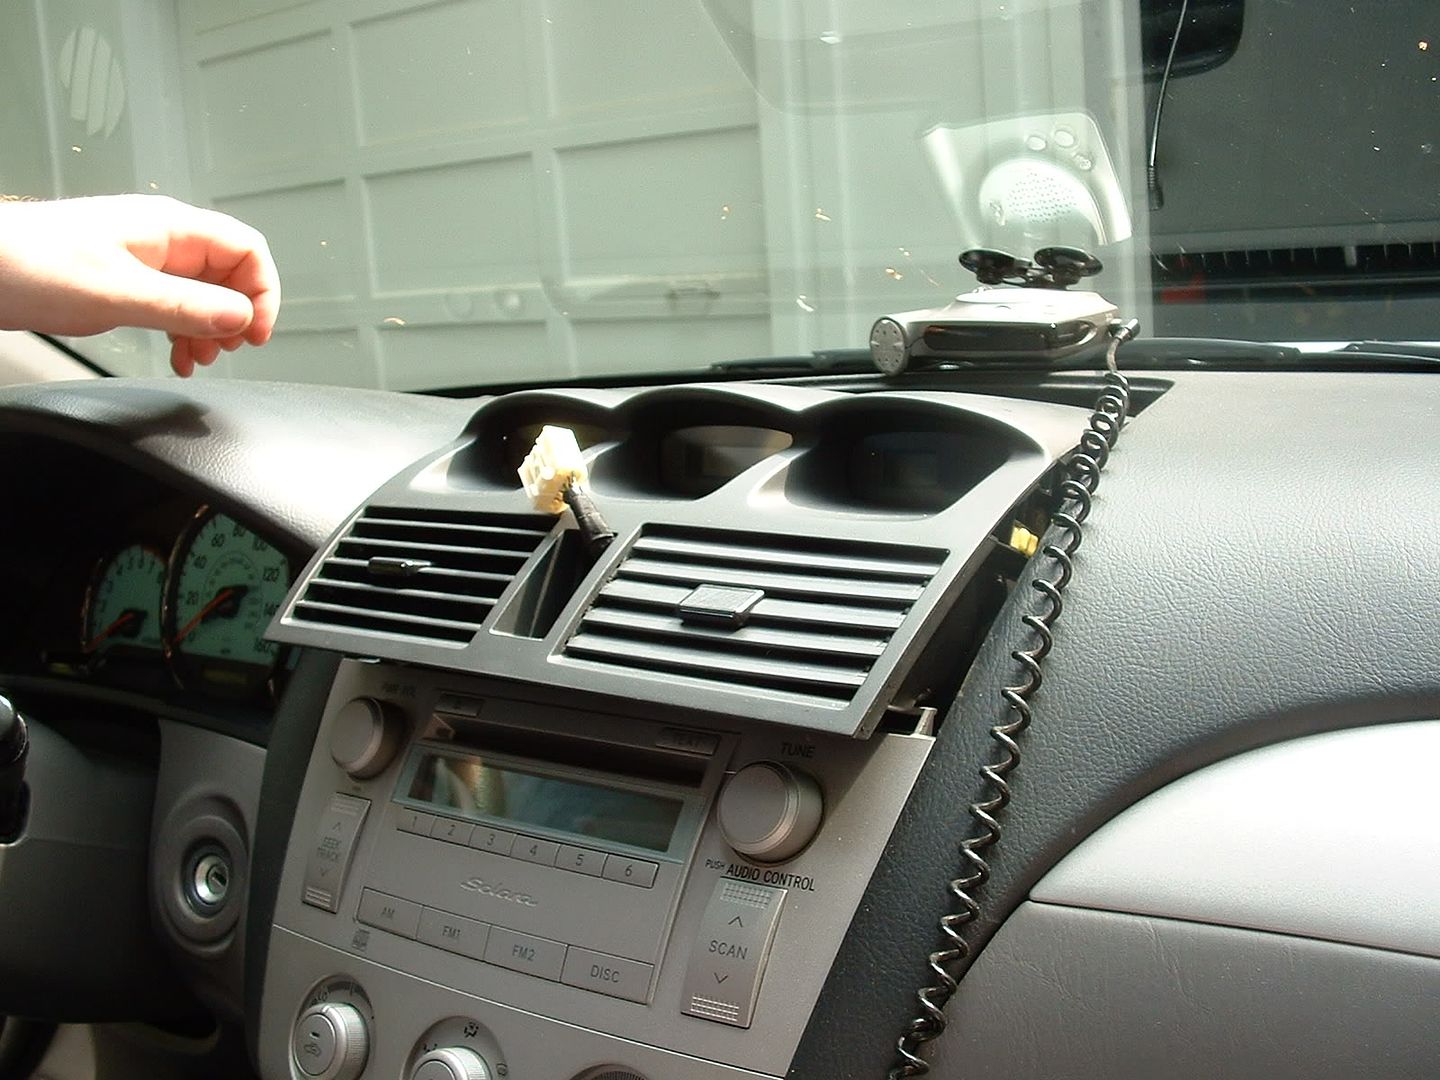
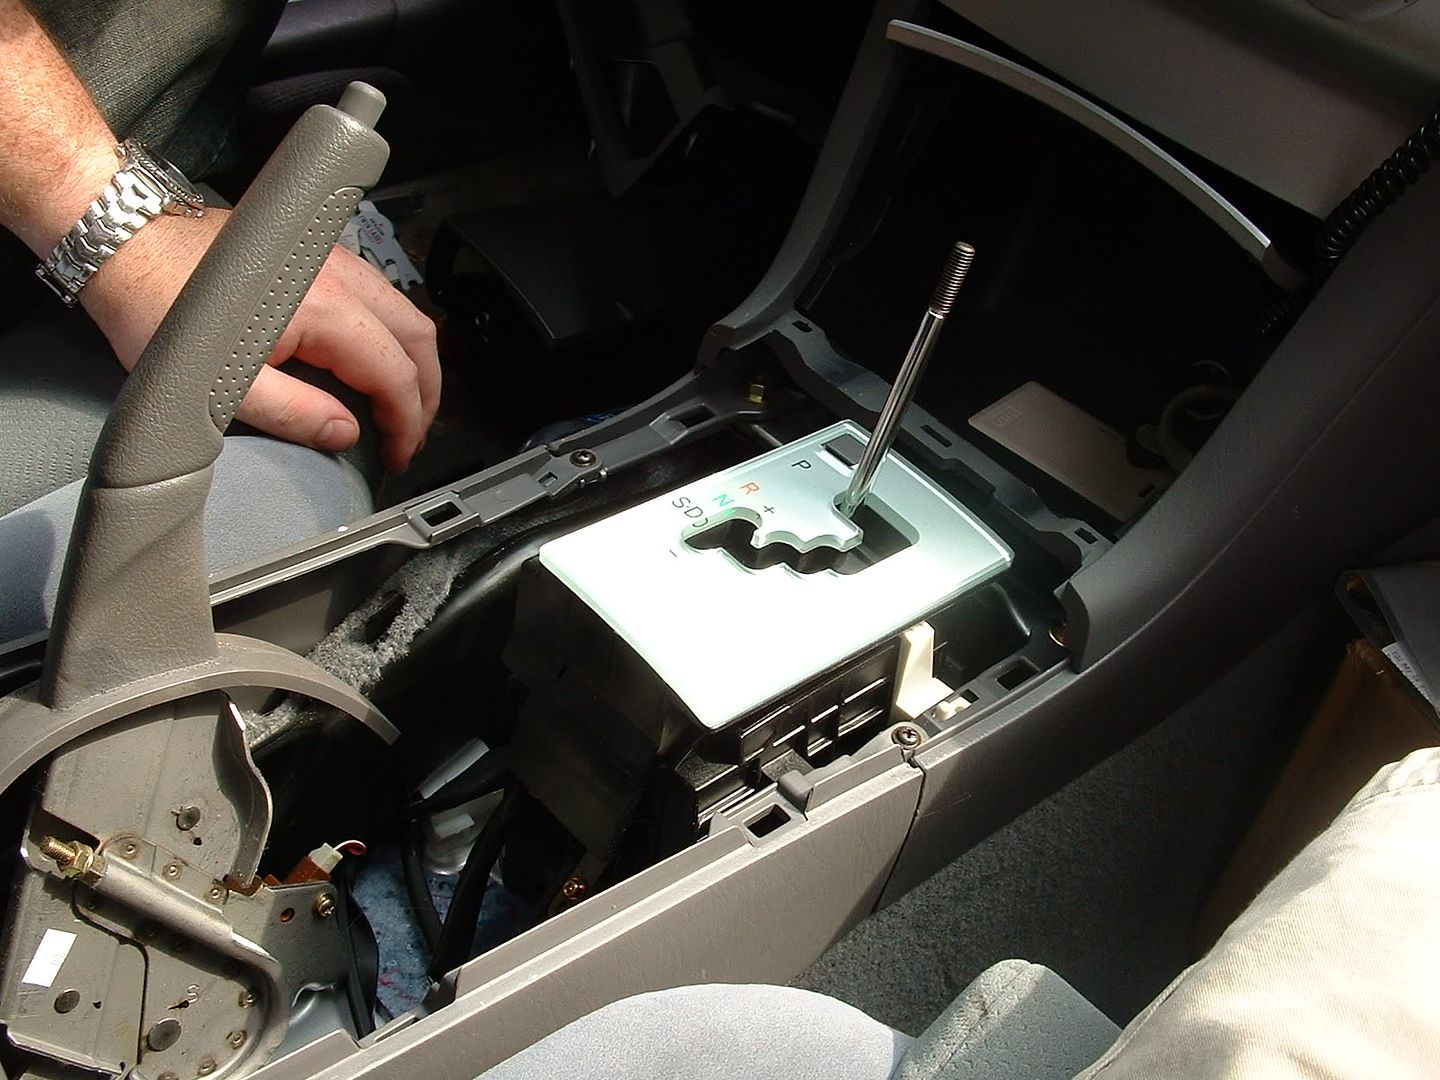
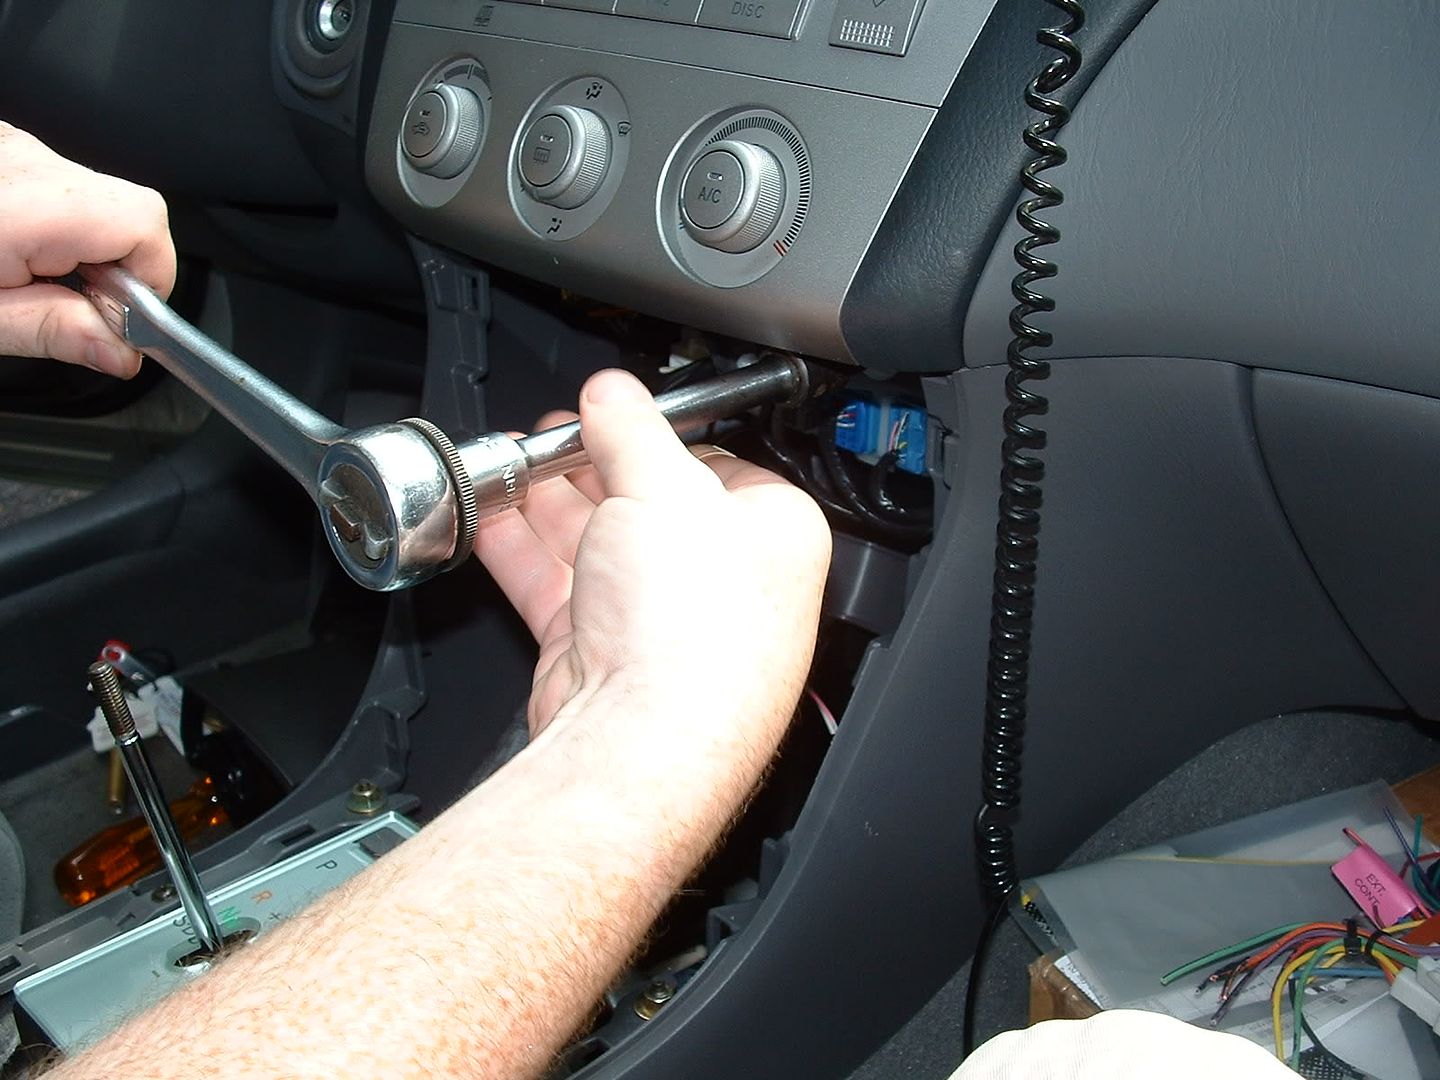
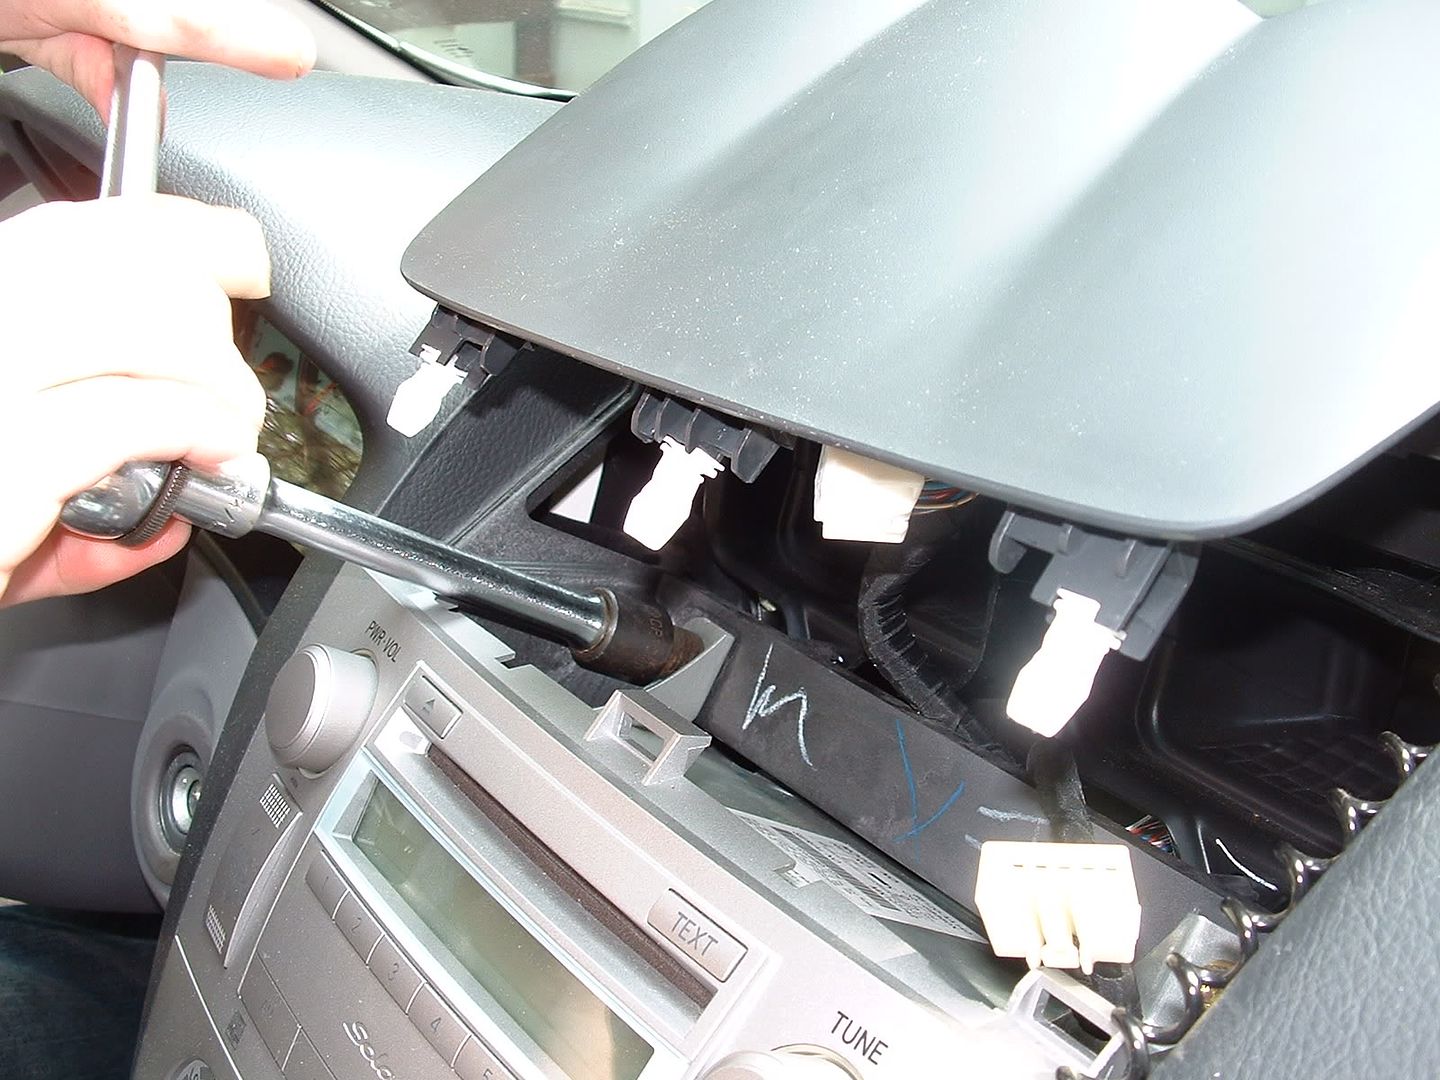
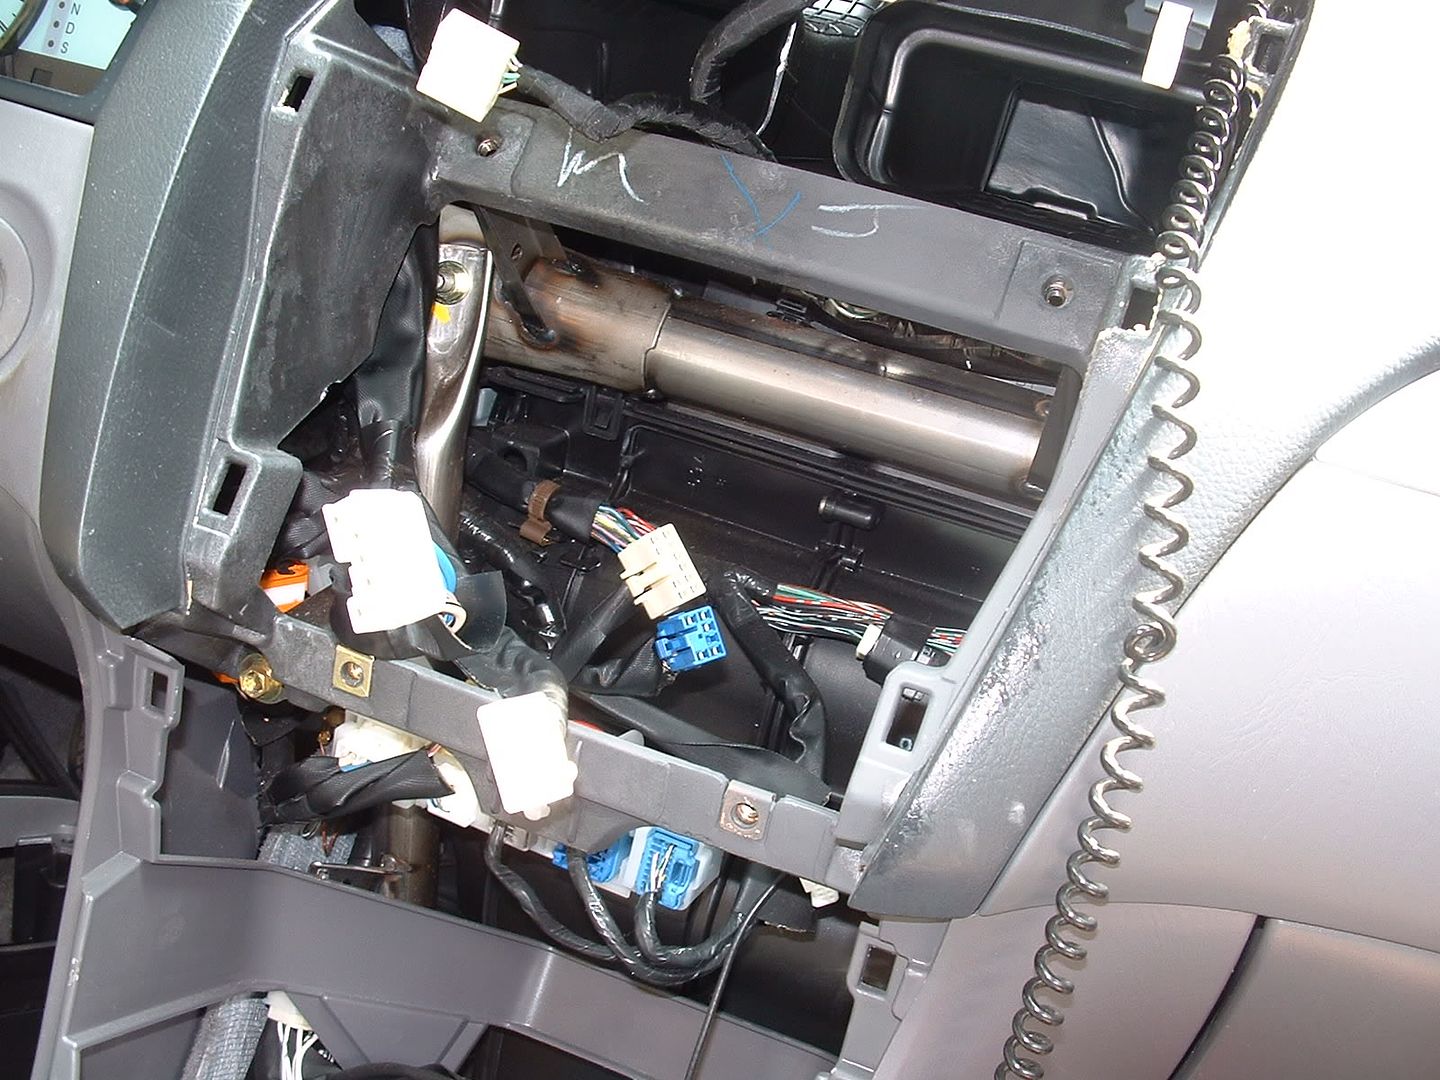
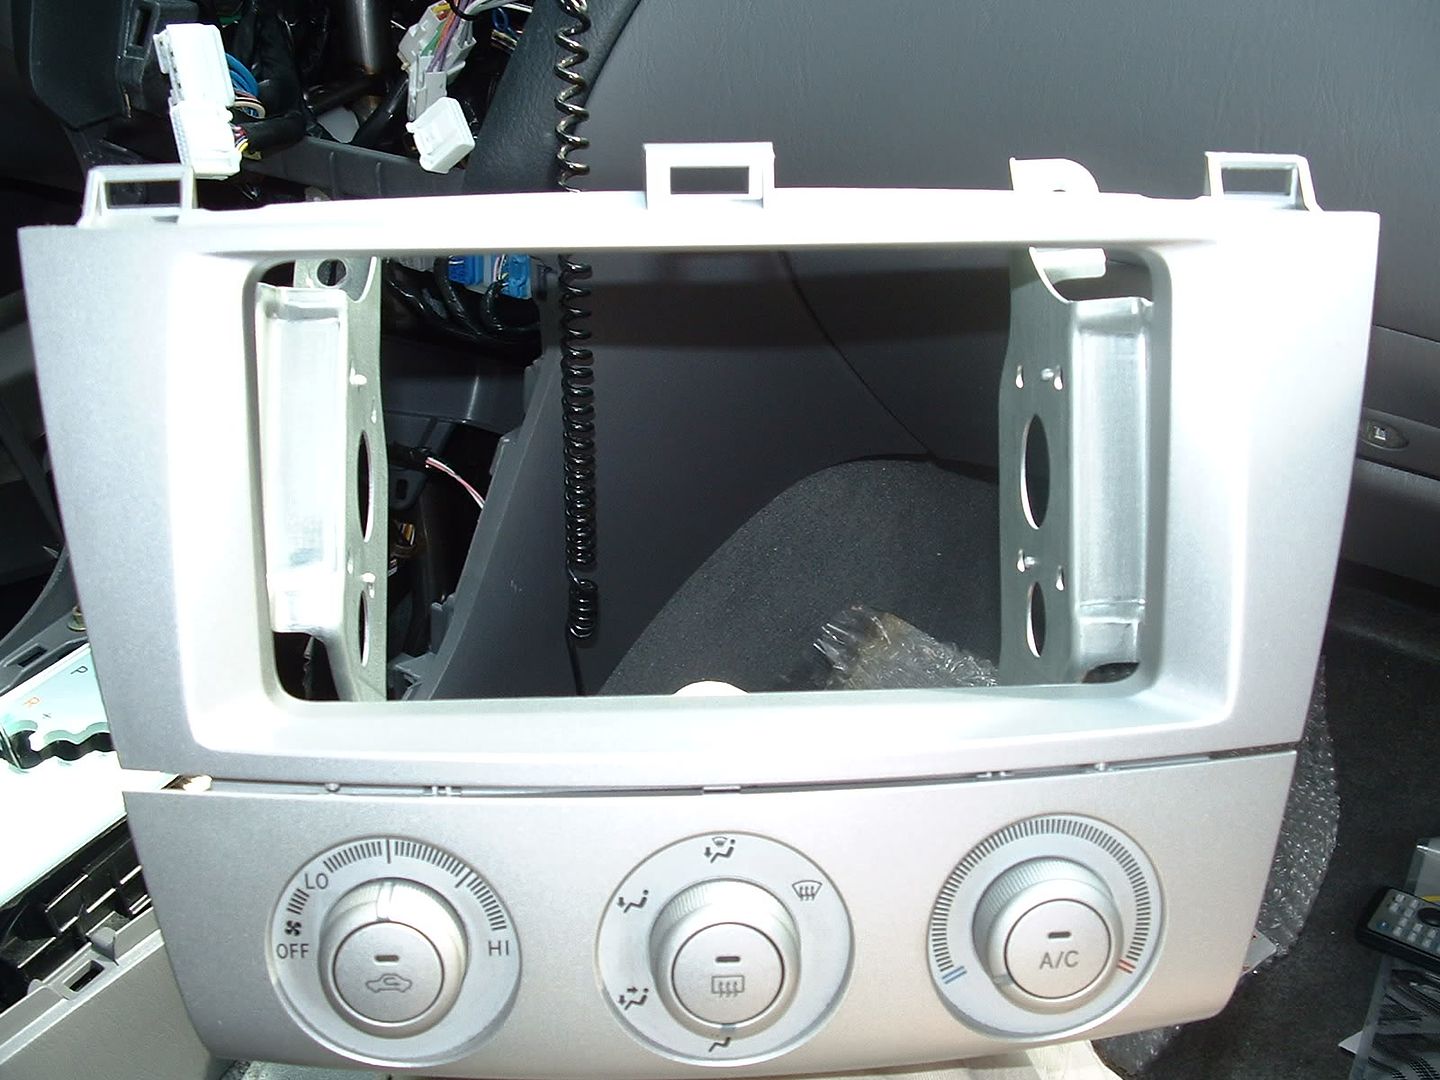
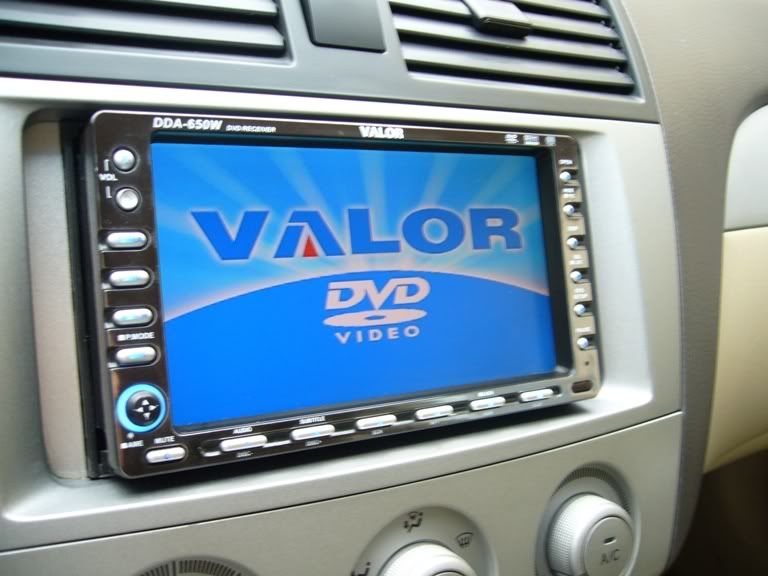
I can see why you people like to put single din screens in, or go with the factory setup. It's so much easier. Getting the dash apart was not a problem. I have seen people talk about having issues when things won't move, but for me it all seemed to work well. The plus side of this whole thing, is that there is plenty of space in there for all the wires needed to connected my kenwood setup. For reference, i pulled the unit out of my older camry (DDX-7015 + KNA-4100). This is the point where it stops being easy. I ordered the factory nav trim from reggie (Excelent service from him btw), however, next time, and for anyone else that orderes it, make sure you get the screws that hold it in as well. The factory cd player does not have the trim screws, so i had to use some ones i had here (i think they are 8mm).
Now, a lot of people have asked about what to do about the gaps in the toyta double din trims. Well metra came up with a solution, the 95-8202 http://www.circuitcity.com/ssm/Metra-Double-DIN-Kit-for-Toyota-95-8202/sem/rpsm/oid/147829/catOid/-15585/rpem/ccd/productDetail.do DO NOT USE THIS PRODUCT AS IS!!!! It will not bolt up properly because the factory bracket is narrower that normal toyota radios. However, if you cut off all the bracket part, you can put the spacers in and tourqe the nav trim down tight enough to hold it in place.
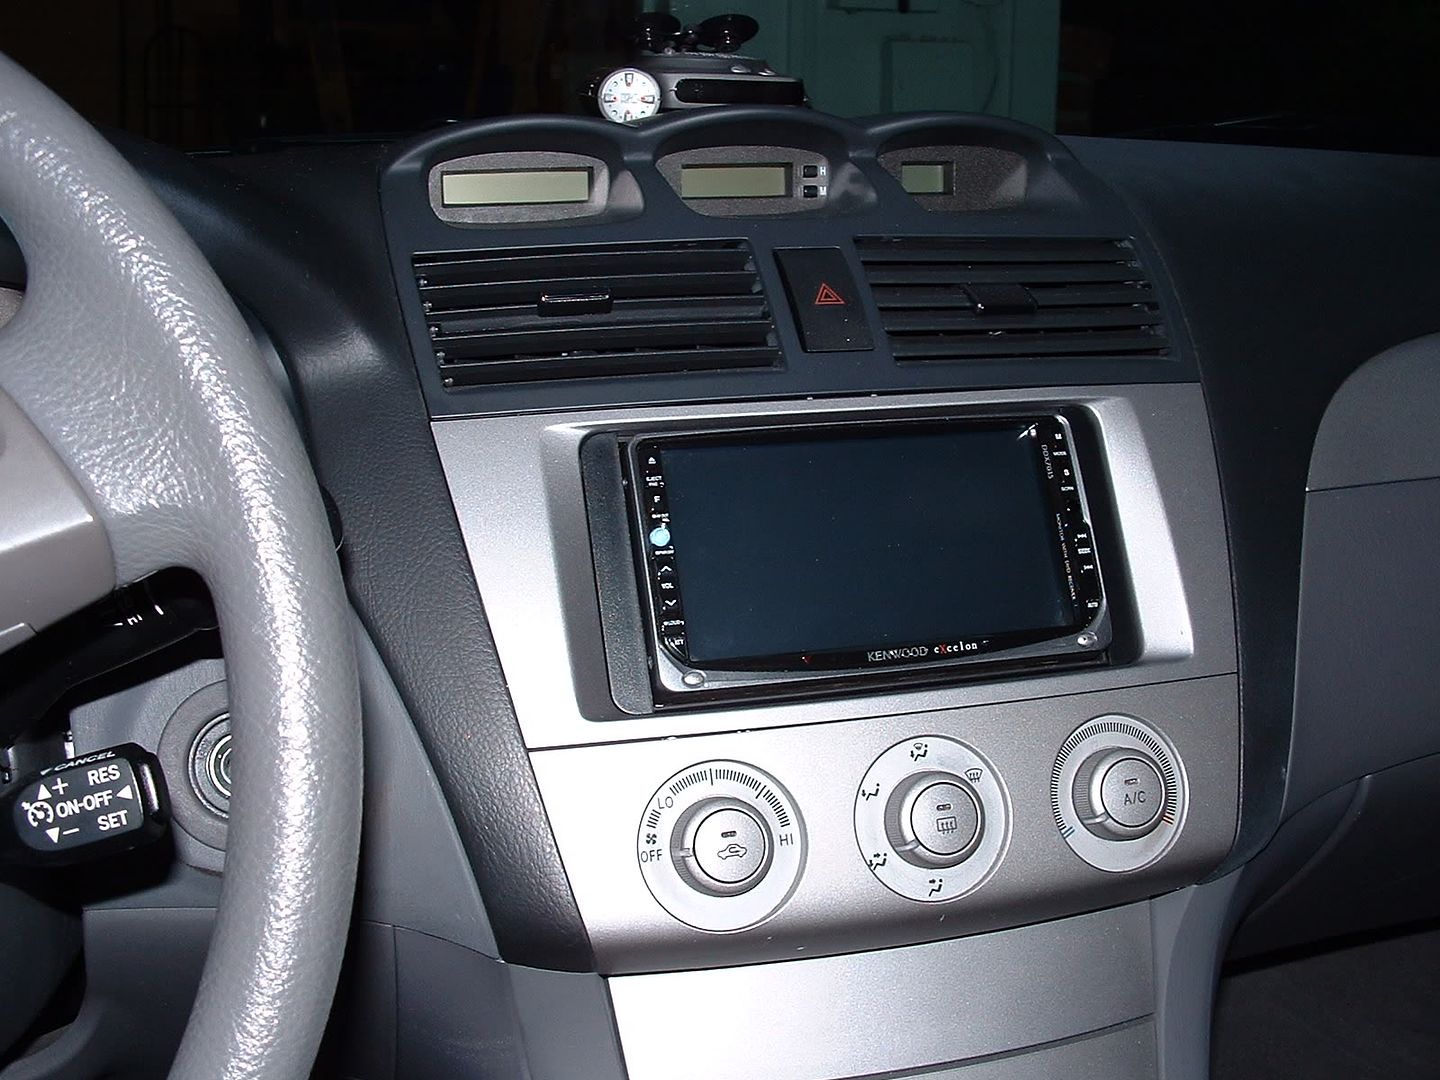
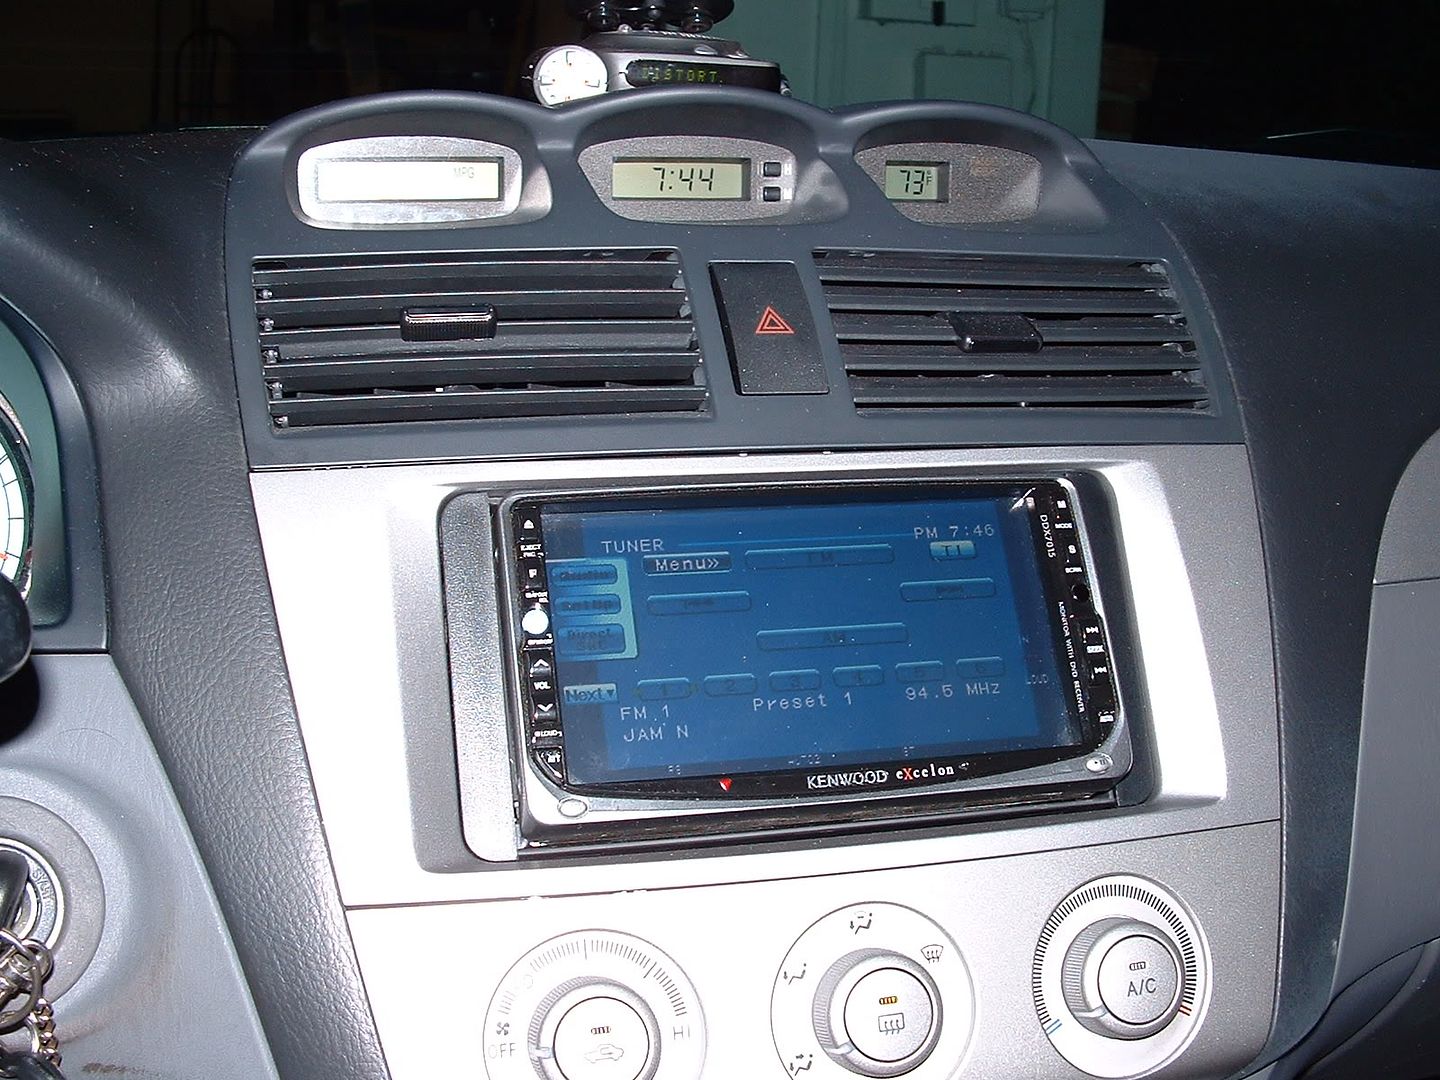
Also, most aftermarket double din screens stick out too far. kenwood is known for this and the screen sticks out allmost a half inch from the base. Because of this, when i first installed it, it looked like i just tossed it in there and it didn't fit, and i was just kind of letting it sit there. Well i wanted a more flush look. So i drilled new holes in the factory metal bracket and pushed it back about a half inch. This is much better, and with the cutoffs of the metra bracket. My only problem, is that it is lined up to reflect the sky right into my eyes when the sunroof is open, so all i see is white cause of the reflection
A couple of interesting things to note that seemed to work well for me. The reverse wire i used is in the driverside kick panel. To get there, you need to pull up the door sill panel (this is on very tight, and you will most likely snap the white clips holding it in place unless you have a panel tool like i did. But don't worry, replacement ones are CHEAP!) And then the driver kick panel comes off after unscrewing the black cap. The wire you want is red with a balck stripe. It is the only wire of this style in the area, and it is right on the bottom in the middle They go into a junction box that is ressesed, so unless your looking dead on, it looks like they just go off into no where.
The VSS (Speed wire) is comming off of the ECM. For those of you who don't know where this is, it is next to the blower, so to get at it, just follow the howtwo on how to change your cabin air filter, and you'll see theunit on the right. The wire itself is Purple with a white stripe. Again, it is the only one in this area with that color. To get better access to tap into the wire, undo the electrical tape and insulation cover a bit to expose the wires.
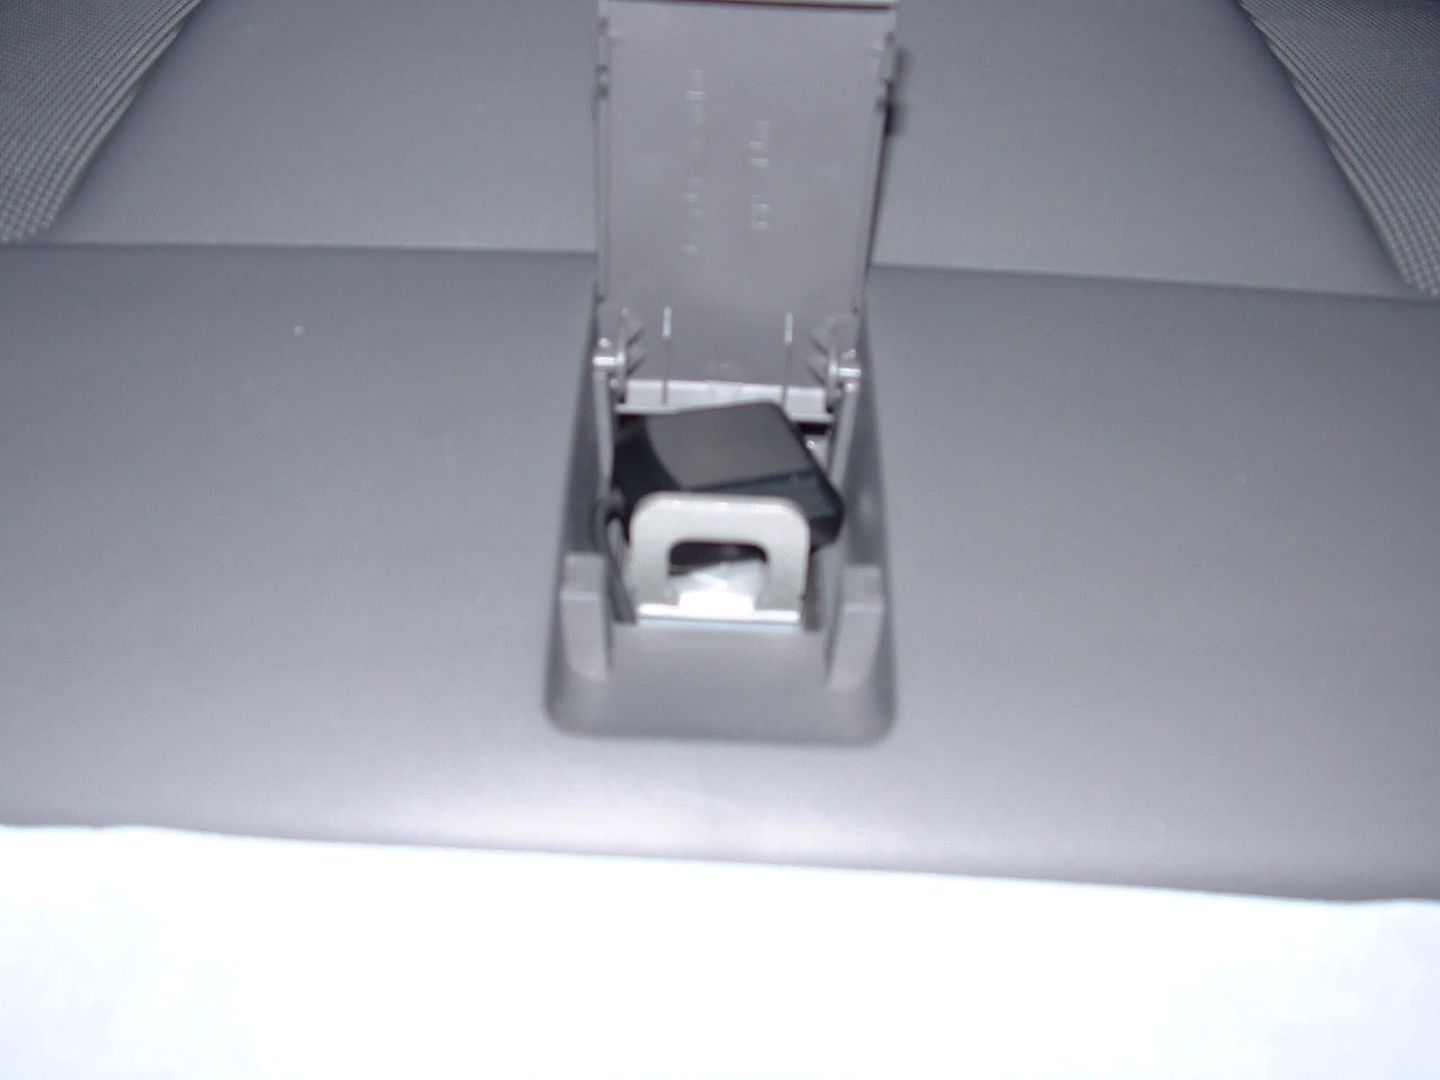
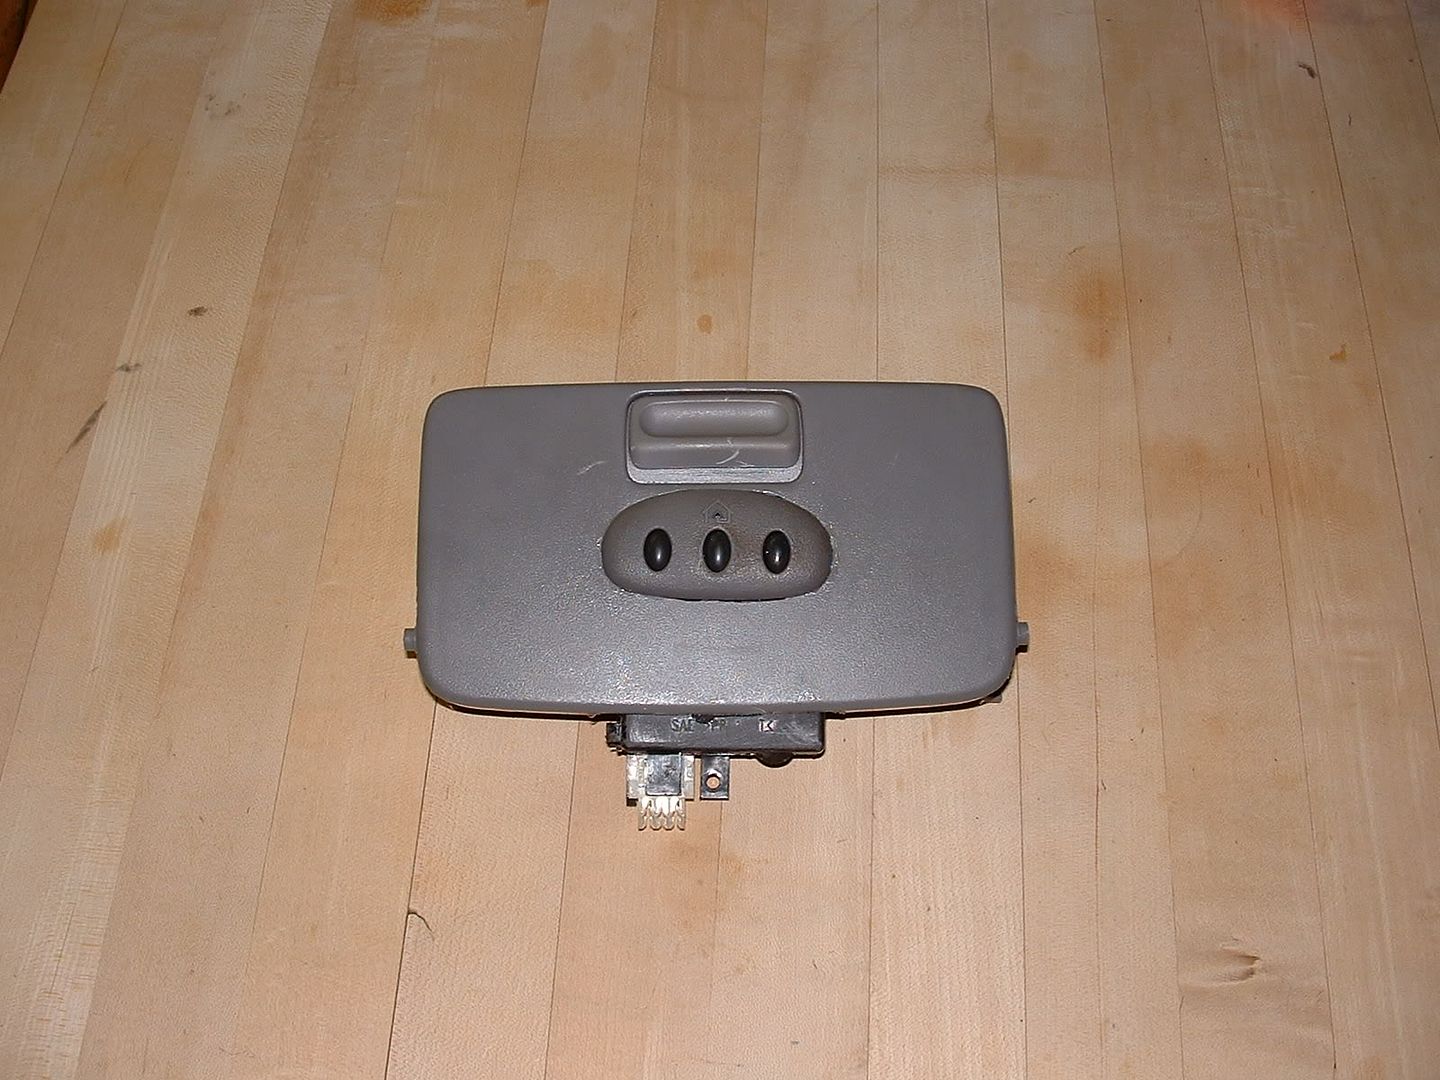
Mounting the GPS antenna (This would probably also apply for people wanting to do SatRadio too). I got creative, i didn't want anyone to know i have nav, so I hid it. On the rear deck are 3 tabs for tying down car seats or cargo. Inside is a metal bolt. This is where i hid the the antenna. It was small enough that it fits there with no problems. And when you close the cap, it's only plastic and does not effect the reception. It is also far enough back on the roof line that you will not get much of an issue from the roof, and since it's magnetic, it will hold to that bolt and not move.
I hope this information has been helpful and feel free to ask me questions if you get stuck. I will be posting pictures of this setup soon once i get them all organized.
Now, a lot of people have asked about what to do about the gaps in the toyta double din trims. Well metra came up with a solution, the 95-8202 http://www.circuitcity.com/ssm/Metra-Double-DIN-Kit-for-Toyota-95-8202/sem/rpsm/oid/147829/catOid/-15585/rpem/ccd/productDetail.do DO NOT USE THIS PRODUCT AS IS!!!! It will not bolt up properly because the factory bracket is narrower that normal toyota radios. However, if you cut off all the bracket part, you can put the spacers in and tourqe the nav trim down tight enough to hold it in place.
Also, most aftermarket double din screens stick out too far. kenwood is known for this and the screen sticks out allmost a half inch from the base. Because of this, when i first installed it, it looked like i just tossed it in there and it didn't fit, and i was just kind of letting it sit there. Well i wanted a more flush look. So i drilled new holes in the factory metal bracket and pushed it back about a half inch. This is much better, and with the cutoffs of the metra bracket. My only problem, is that it is lined up to reflect the sky right into my eyes when the sunroof is open, so all i see is white cause of the reflection
A couple of interesting things to note that seemed to work well for me. The reverse wire i used is in the driverside kick panel. To get there, you need to pull up the door sill panel (this is on very tight, and you will most likely snap the white clips holding it in place unless you have a panel tool like i did. But don't worry, replacement ones are CHEAP!) And then the driver kick panel comes off after unscrewing the black cap. The wire you want is red with a balck stripe. It is the only wire of this style in the area, and it is right on the bottom in the middle They go into a junction box that is ressesed, so unless your looking dead on, it looks like they just go off into no where.
The VSS (Speed wire) is comming off of the ECM. For those of you who don't know where this is, it is next to the blower, so to get at it, just follow the howtwo on how to change your cabin air filter, and you'll see theunit on the right. The wire itself is Purple with a white stripe. Again, it is the only one in this area with that color. To get better access to tap into the wire, undo the electrical tape and insulation cover a bit to expose the wires.
Mounting the GPS antenna (This would probably also apply for people wanting to do SatRadio too). I got creative, i didn't want anyone to know i have nav, so I hid it. On the rear deck are 3 tabs for tying down car seats or cargo. Inside is a metal bolt. This is where i hid the the antenna. It was small enough that it fits there with no problems. And when you close the cap, it's only plastic and does not effect the reception. It is also far enough back on the roof line that you will not get much of an issue from the roof, and since it's magnetic, it will hold to that bolt and not move.
I hope this information has been helpful and feel free to ask me questions if you get stuck. I will be posting pictures of this setup soon once i get them all organized.
Last edited by [SMAN] on Sat Aug 18, 2007 9:46 am, edited 1 time in total.
2004 Solara V6 SE
2005 4Runner V6 Sport
1996 Camry I4
2005 4Runner V6 Sport
1996 Camry I4
-

[SMAN] - SolaraGuy Driver

- Posts: 670
- Joined: Sat Jul 07, 2007 7:11 am
- Location: Mass