Page 4 of 6
Re: My Gen 4 progress build (pictures overhaul)

Posted:
Sun Nov 13, 2011 5:13 pmby KILLA CAM
Wash your car. lol.
What is your suspension setup? It looks like you're dropped in the back but stock in front, or maybe you've got a heavy ass sound system in the trunk and still stock suspension?
You should roll your fenders and add some spacers before you paint your car.
Keep updating us on the transformation.
Re: My Gen 4 progress build (pictures overhaul)
Posted:
Sun Nov 13, 2011 6:42 pmby xpeed
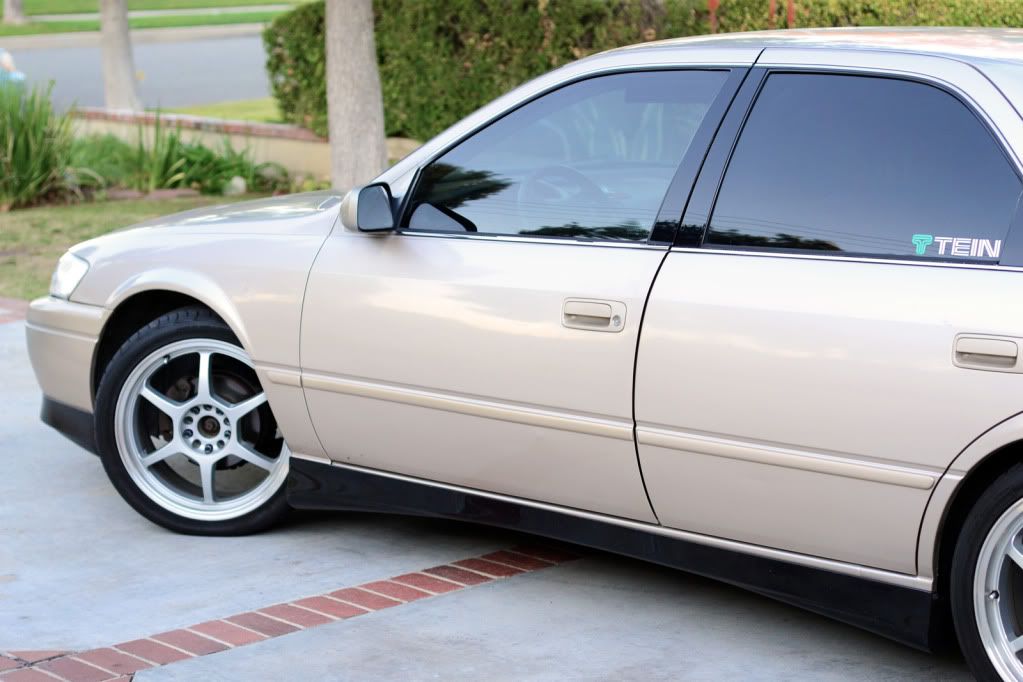
I'm on Tokico HP and Tein S-Techs. It's lowered 1.5 front, 0.6 rear, but for some reason, the rear seems lower, but it's really not much different from the front. I think it's because I took the picture when I had my old tires in the trunk still. lol
I don't think I need to roll my fenders unless I opt to go coilovers, because with my current set up, I don't need to roll the fenders, but for sure I'm going to invest on some tuner spacers and studs later on.
Re: My Gen 4 progress build (pictures overhaul)
Posted:
Sun Nov 20, 2011 5:36 pmby t3chnique
lol what are tuner spacers? The Autozone brand?
Re: My Gen 4 progress build (pictures overhaul)
Posted:
Sun Nov 27, 2011 1:14 amby xpeed
Haha, no, I meant wheel spacers. Looking at the ones from Project Kics.
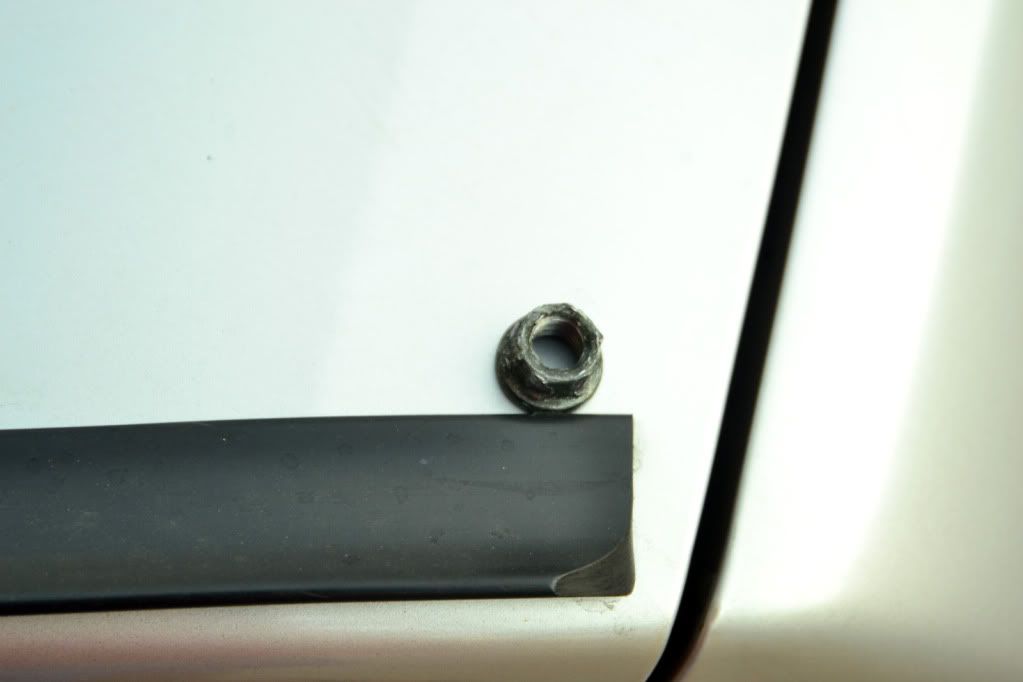
Finally got the door molding painted and fitted.
'bout time I say.
Re: My Gen 4 progress build (pictures overhaul)
Posted:
Sun Nov 27, 2011 11:18 amby kenny6683
time to update signature pic lol
Great job!!!
Re: My Gen 4 progress build (pictures overhaul)
Posted:
Mon Jan 02, 2012 12:23 amby xpeed
haha, updated it just now. Thanks. Next on list are new bumpers, refinish the wheels, and repaint! Can't wait.
Re: My Gen 4 progress build (pictures overhaul)
Posted:
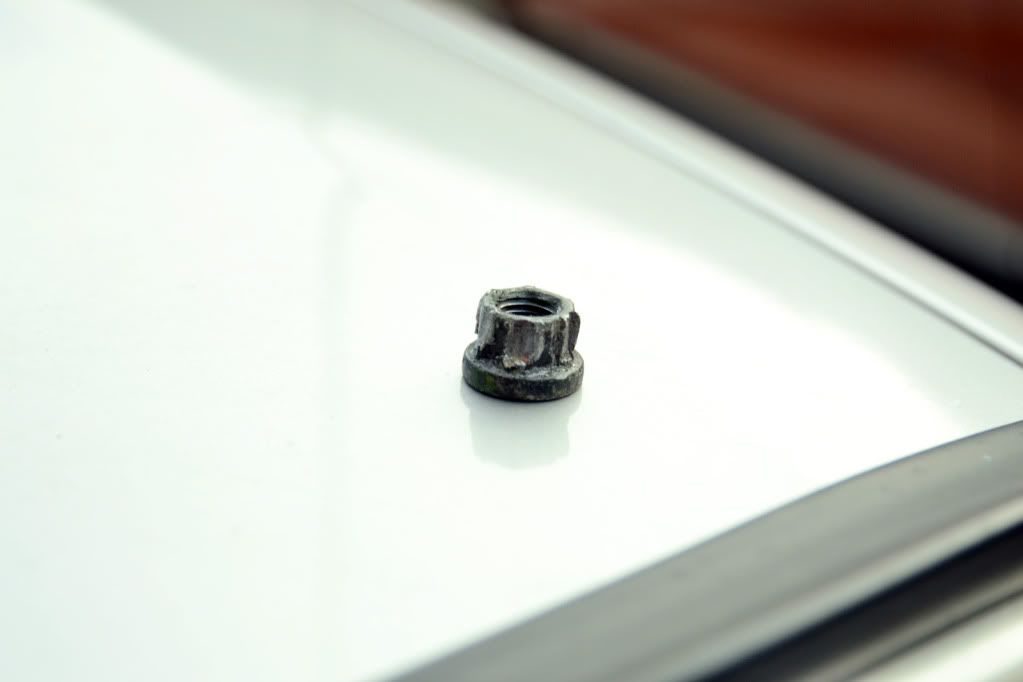
Fri Jan 20, 2012 2:11 amby xpeed
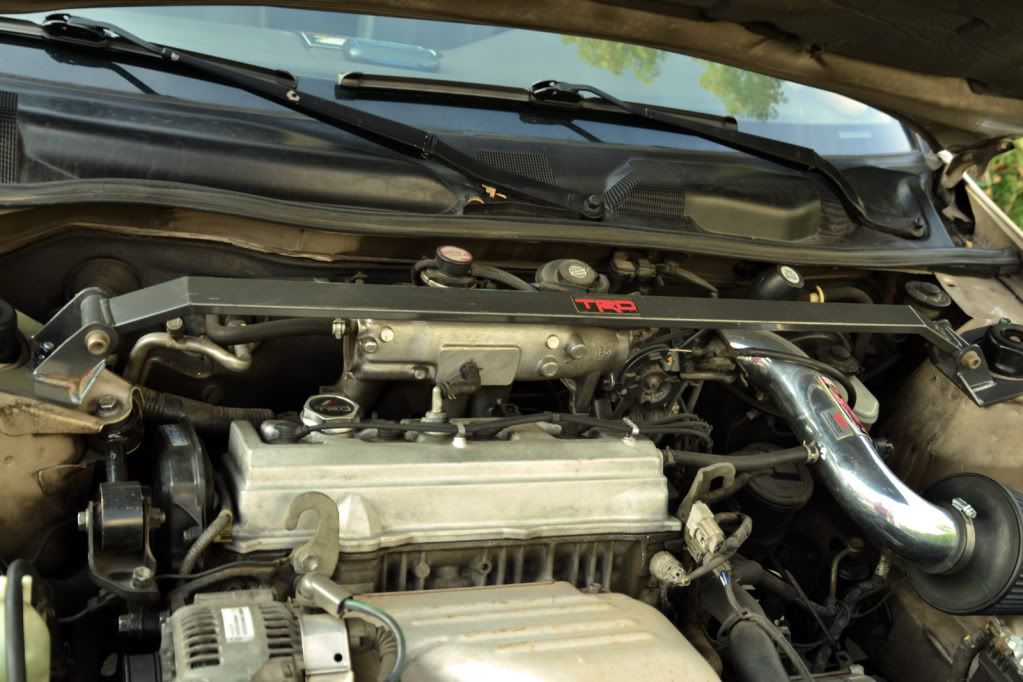
Finally decided to install the TRD FTB. Had trouble before with one bolt. Stripped it completely, so I couldn't install it then, so what do I do? Impact hammer it out? Nope. Get a industrial-rated crescent wrench the size of your forearm, and clamp it tight and start pulling the bolt out as if you can't wait for your girl to take off her panties.
End result? Me 1, Bolt 0.
Re: My Gen 4 progress build (pictures overhaul)
Posted:
Fri Jan 20, 2012 2:46 amby 1gSE
that's a strut tower brace

Good job making that nut your b*tch though

Re: My Gen 4 progress build (pictures overhaul)
Posted:
Sat Mar 10, 2012 7:59 pmby xpeed
Got the exhaust and Whiteline sway bar installed. I'll post up video of the exhaust soon.
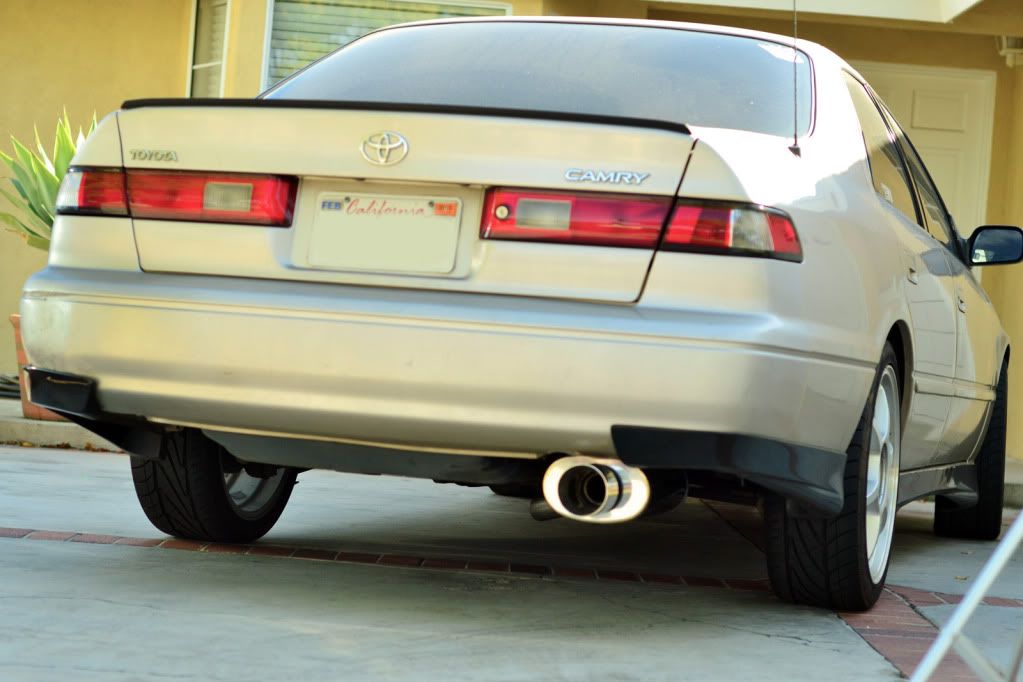 http://www.youtube.com/watch?v=XWM4DYbW-F4
Due to the crappy audio mic on the camera, the sound is better in person.
Re: My Gen 4 progress build (pictures overhaul)
Posted:
Sun Mar 11, 2012 9:36 amby pwizzle
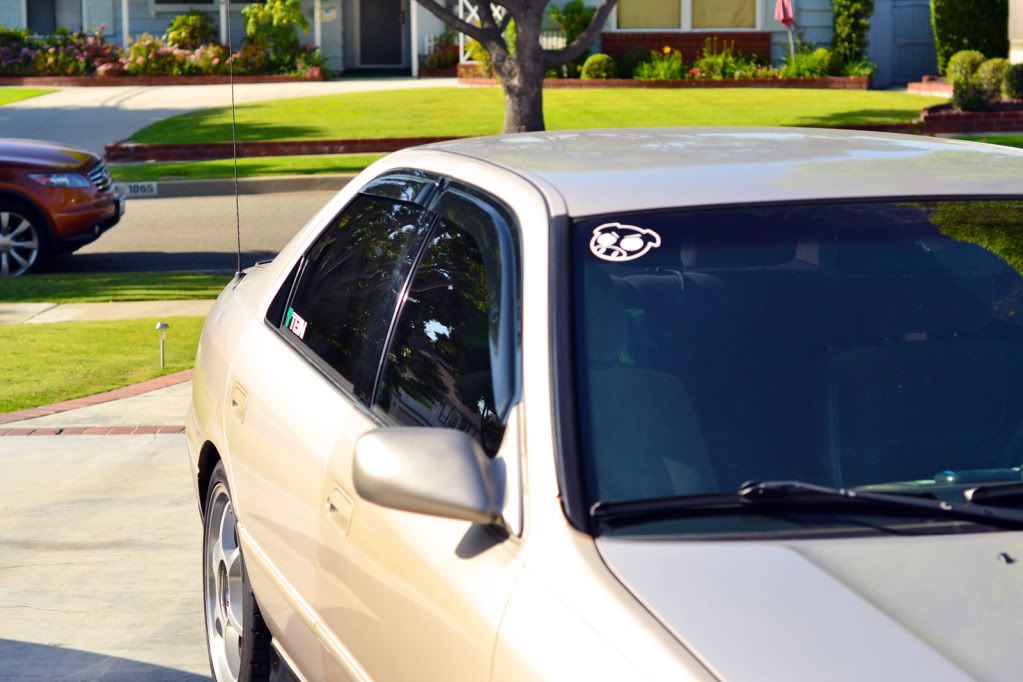
Your build is coming along nicely especially considering the state of it when you first received it. I believe there was a tutorial on TN explaining how you could swap out the antenna on your car for I think either a Celica or S2000 antenna. The antenna looks kind of akward so a swap might make it look cleaner.
Re: My Gen 4 progress build (pictures overhaul)
Posted:
Sun Mar 11, 2012 10:05 amby xpeed
That's on my to-do list as well, but it's not something important as of this moment. Thanks!
Re: My Gen 4 progress build (pictures overhaul)
Posted:
Mon Mar 26, 2012 11:44 amby kdmac015
Very Clean. It's crazy how you took it from a bit grungy, to clean and lowered. Its like a brand new car.
Re: My Gen 4 progress build (pictures overhaul)
Posted:
Sat May 12, 2012 5:34 pmby xpeed
My my it has come a long way.
From this.
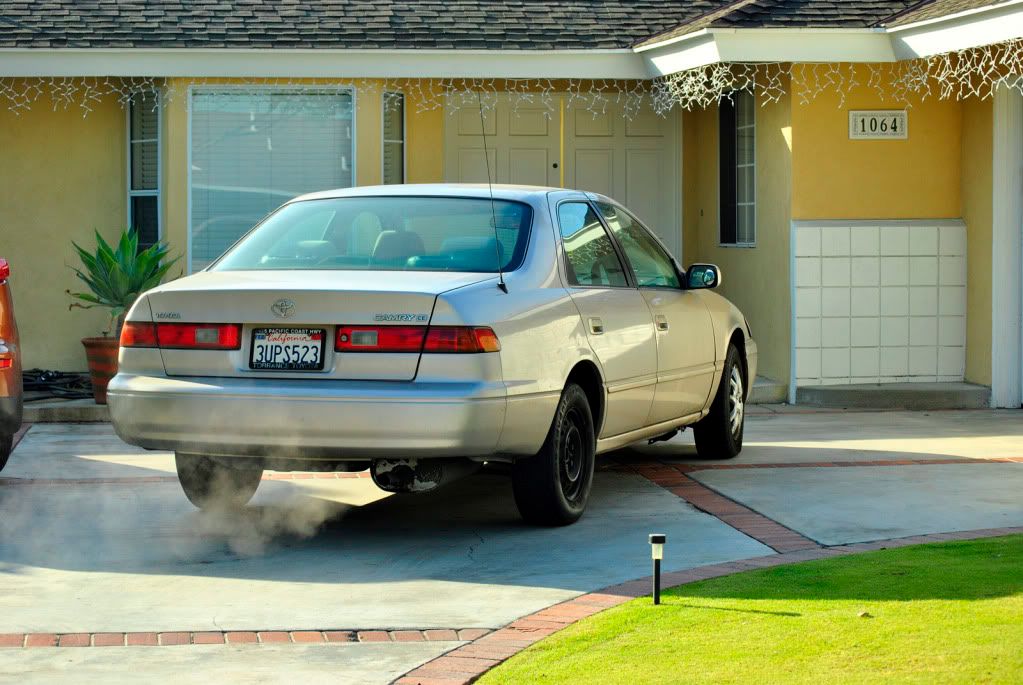
To this.
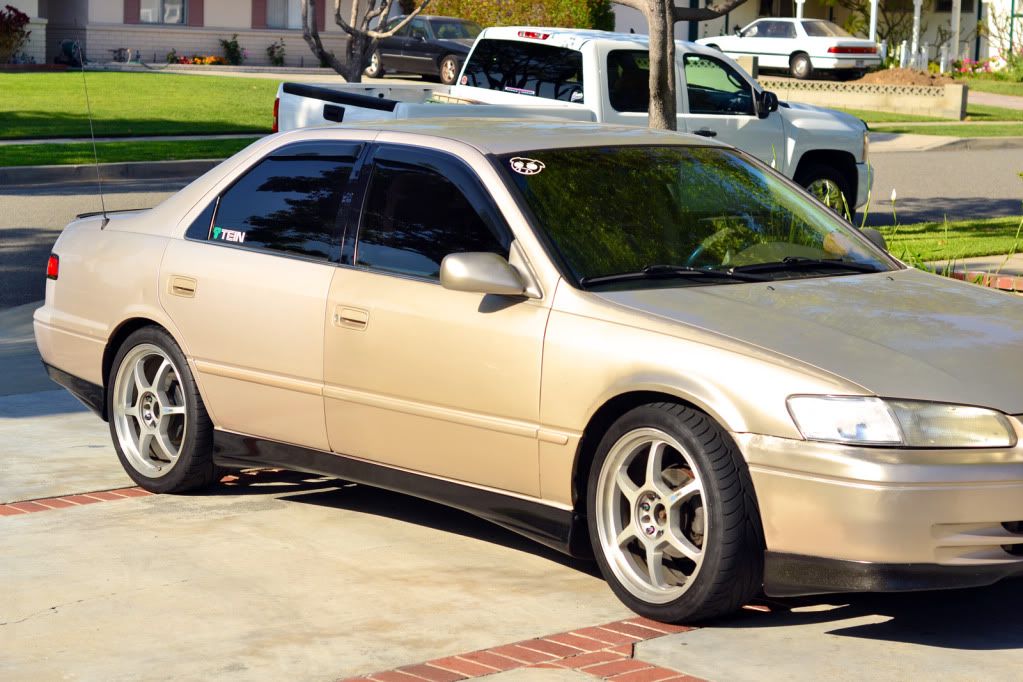
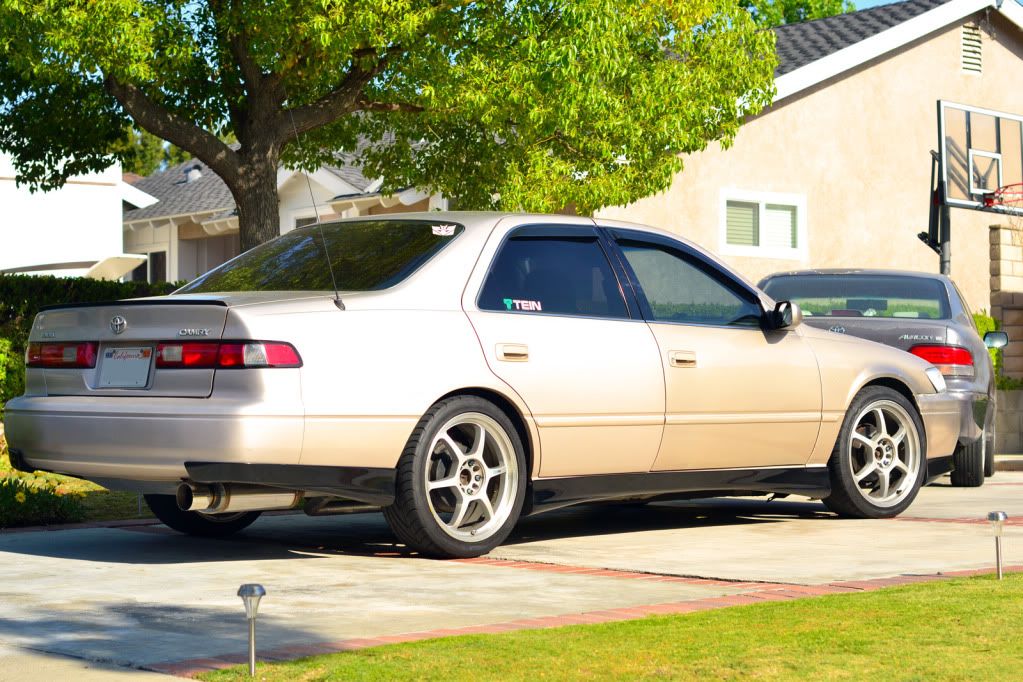
Still need to get some spacers for the rear.
Re: My Gen 4 progress build (pictures overhaul)
Posted:
Mon May 14, 2012 8:27 pmby GzNutz
Lookin good!
Re: My Gen 4 progress build (pictures overhaul)
Posted:
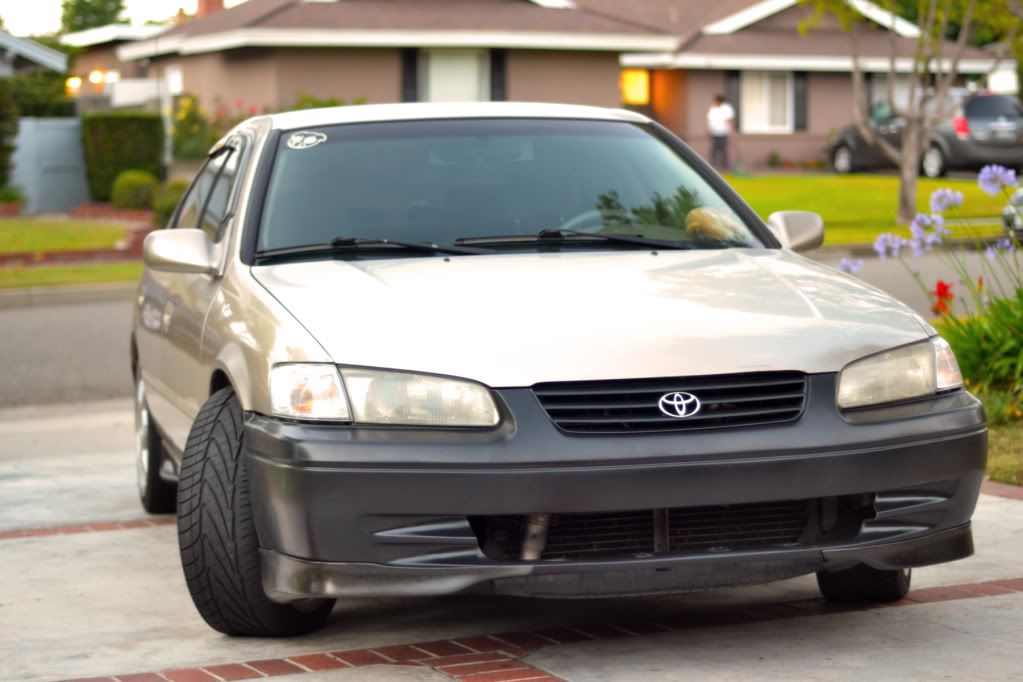
Wed Jul 04, 2012 8:46 pmby xpeed
I installed my new bumper that I worked on. I'm currently liking it how it looks but I think I'll do some further sketches to see if it'll look cleaner with the outer sides of the air dams went straight down or at a 120 degree angle instead of the 80 degree it's currently at. I'm also going to install some LED DRLs at the outer sides of the air dam.